May
13
2013Adding Texture To A Portrait
How Much Wood?
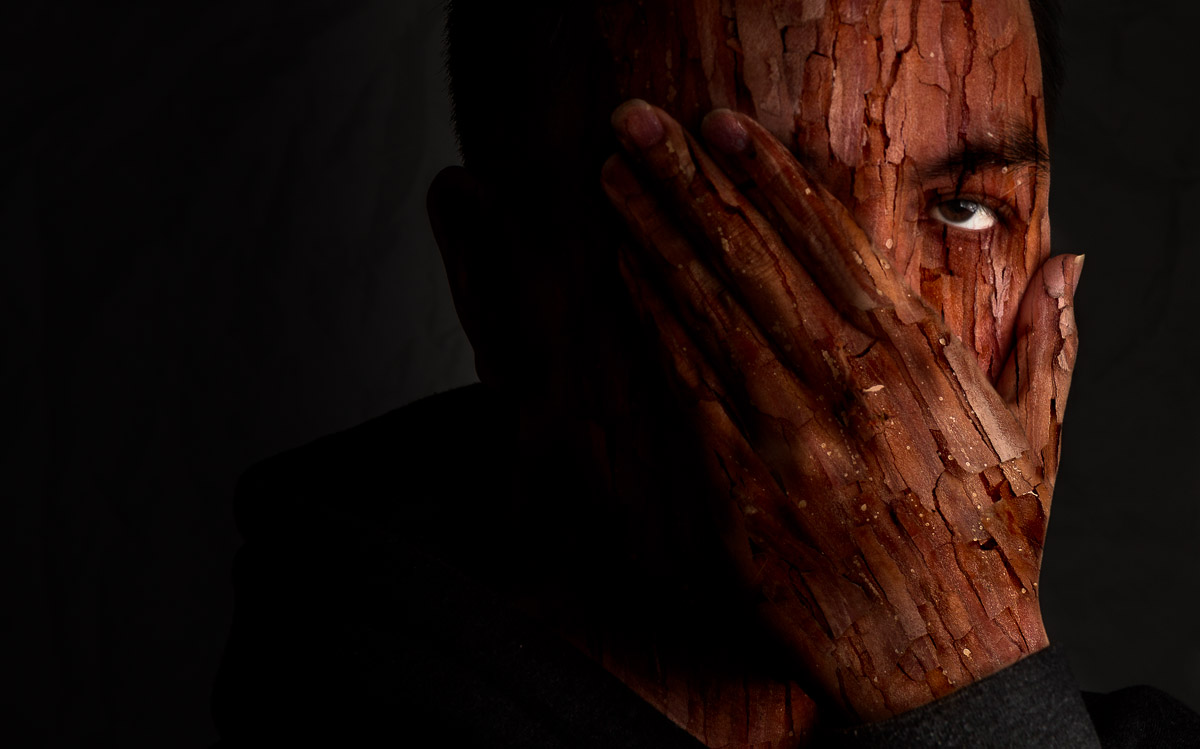
This image was taken for a scavenger hunt held over on Google+. Every couple months a list of 10 words are released and over 500 people sign up to create images based on these words. I’ve been participating for a while now and usually do pretty well with the results. This time, however, I didn’t get a chance to do any. Oh, I had plans for all 10 and sketched them out but just ran out of time. So with 1 hour to spare before the deadline, I decided to just throw something together and get 1 submission in. I decided to take the clue “texture” and make a quick self-portrait.
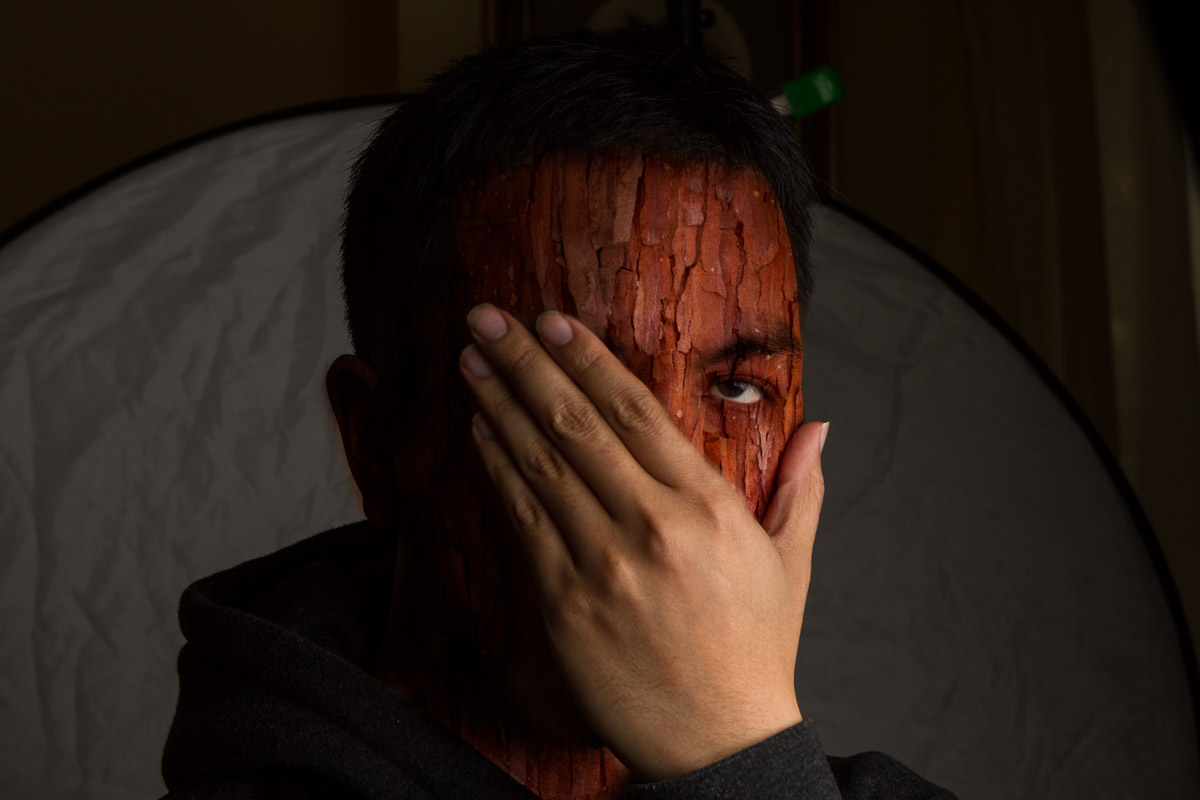
I didn’t have time to set up my usual backdrop and quickly just clamped a reflector onto a lightstand. I took out a speedlight, stuck it in a softbox, put my camera on timer on a tripod and took 4 or 5 shots. I chose this particular shot because I thought the hand covering the face added some drama and interest.
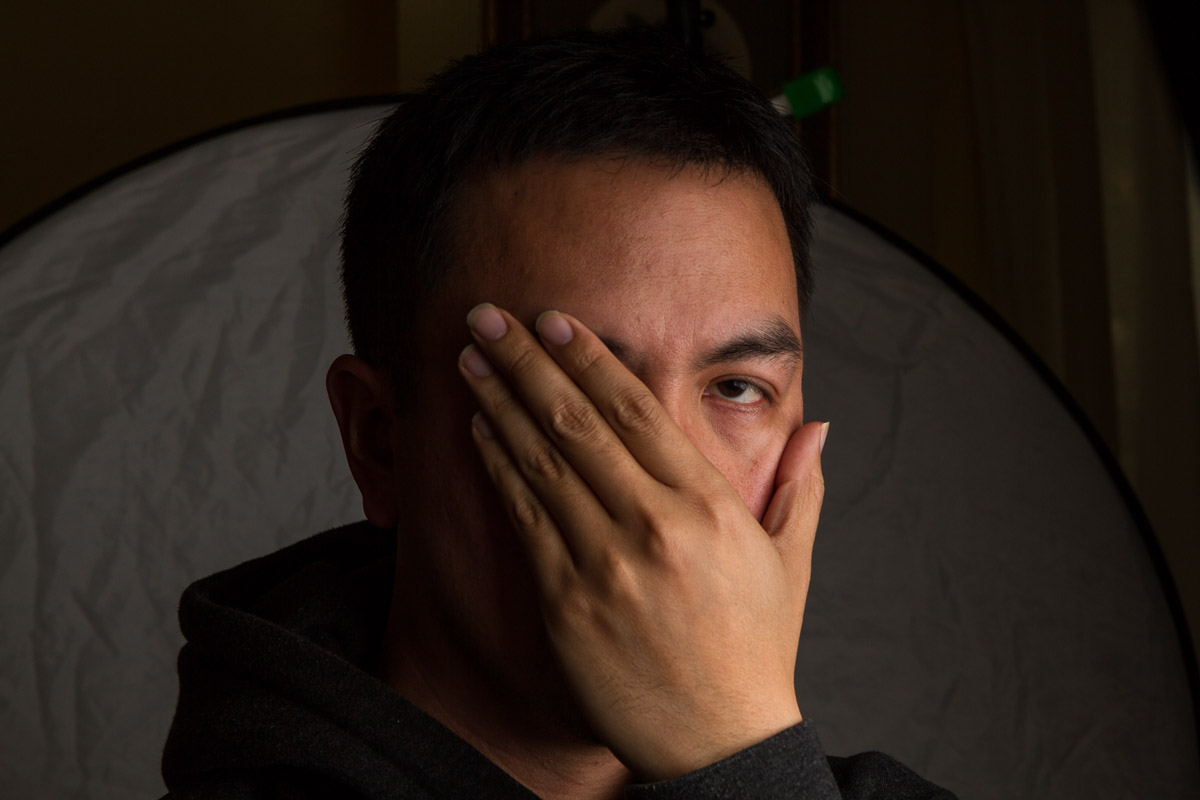
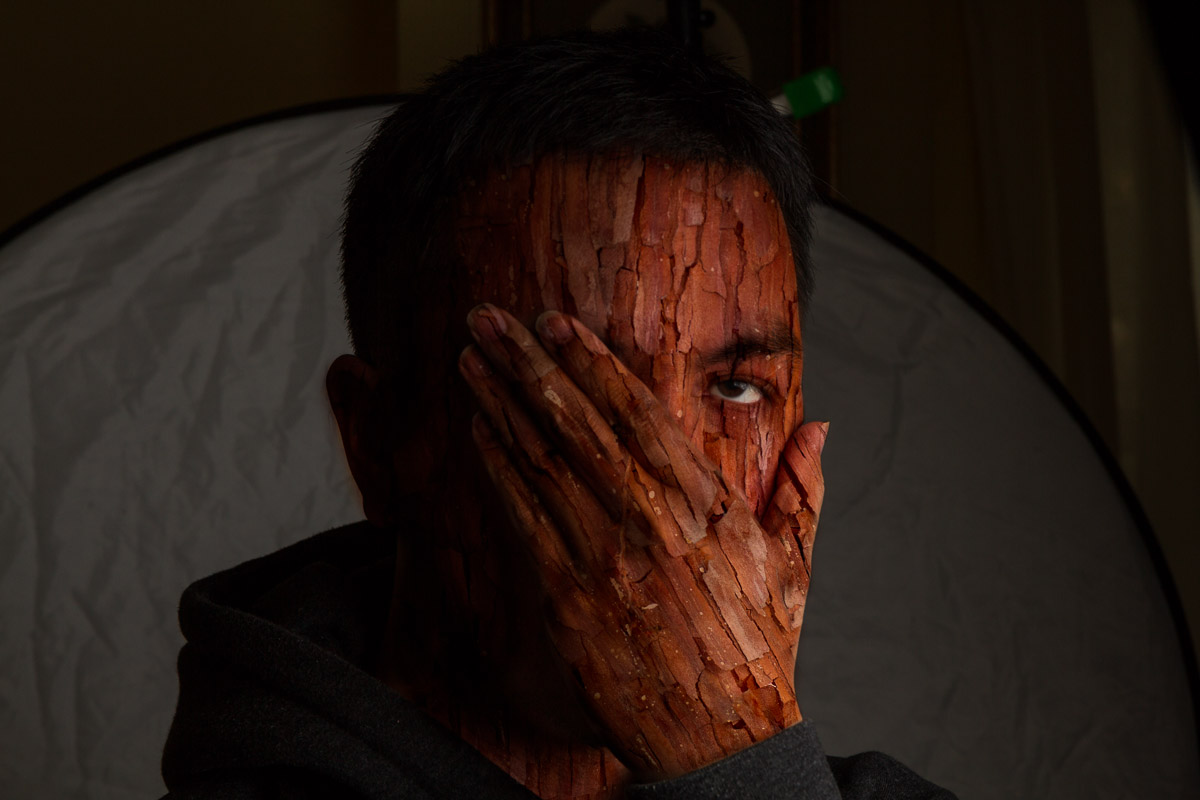
After some minor adjustments in Lightroom, I brought the photo over to Photoshop and added a second layer of this tree trunk photo. I changed the blend mode of the tree layer to multiply to have it interact with the original layer.
I didn’t have time to set up my usual backdrop and quickly just clamped a reflector onto a lightstand. I took out a speedlight, stuck it in a softbox, put my camera on timer on a tripod and took 4 or 5 shots. I chose this particular shot because I thought the hand covering the face added some drama and interest.

After some minor adjustments in Lightroom, I brought the photo over to Photoshop and added a second layer of this tree trunk photo. I changed the blend mode of the tree layer to multiply to have it interact with the original layer.
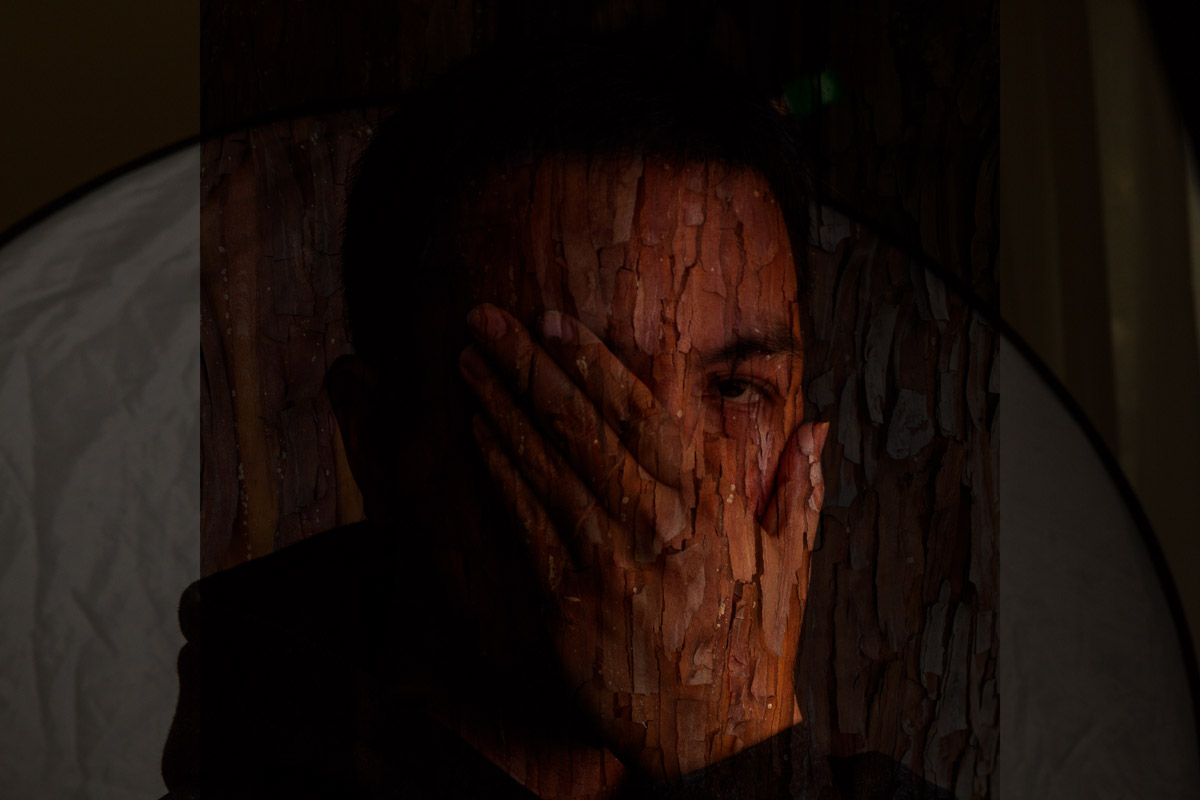
Using a layer mask, I masked out parts of the tree that I didn’t need and added a levels adjustment to brighten up the texture and add some contrast as well.
On a duplicate of the tree layer, I masked in the hand and used the transform tool to change the direction of the grain to match my hand. After getting the pieces in place, I used the displace filter from a displacement map to make the texture fit the contours of my portrait.
After some final tweaks and a crop in Lightroom, you get the final image you see here. I think it’s a fun image and it was well-received as I got an honorable mention and a couple second place votes! Drop me a line if you have any questions. I’m still learning and practicing but am more than happy to share what I know.
