Sep
18
2013Some of my favorites from a recent family portrait session. Carolina and Xavier were so friendly and relaxed our afternoon just flew by so fast!


Sep
17
2013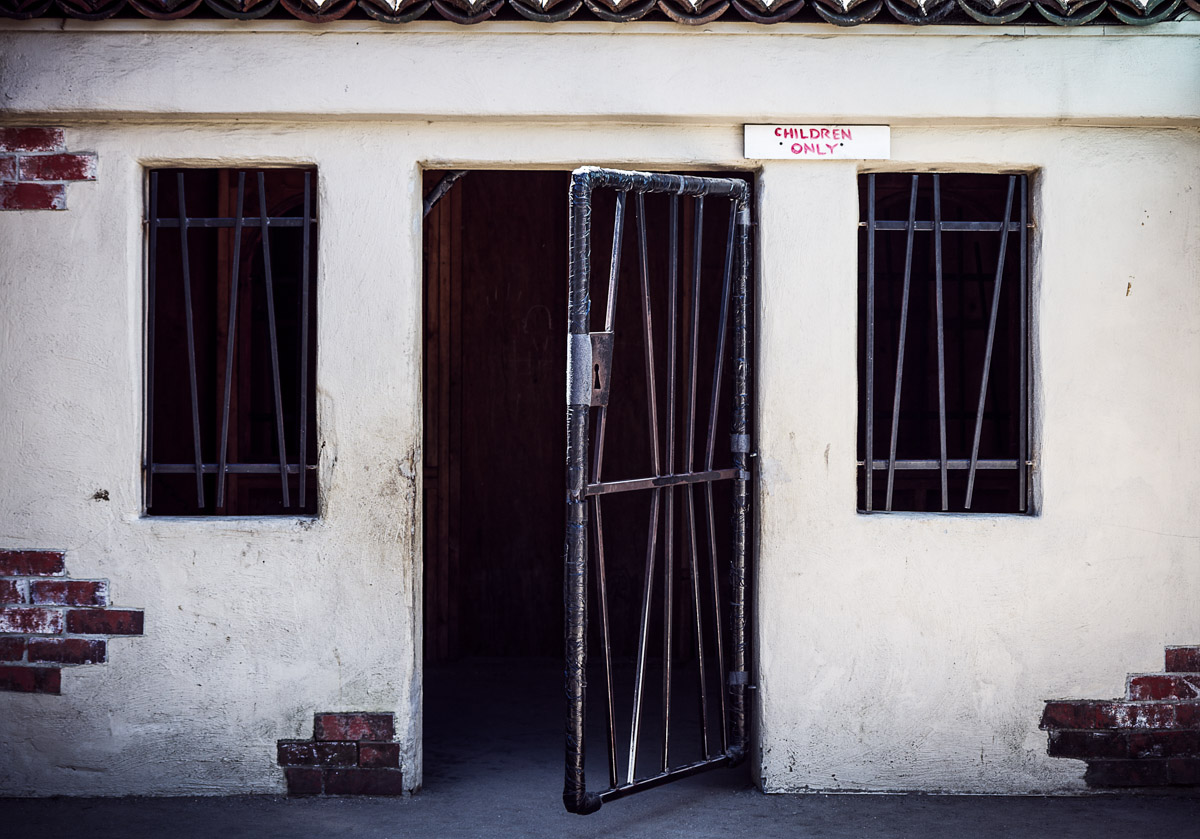
Children Only – Oakland, CA
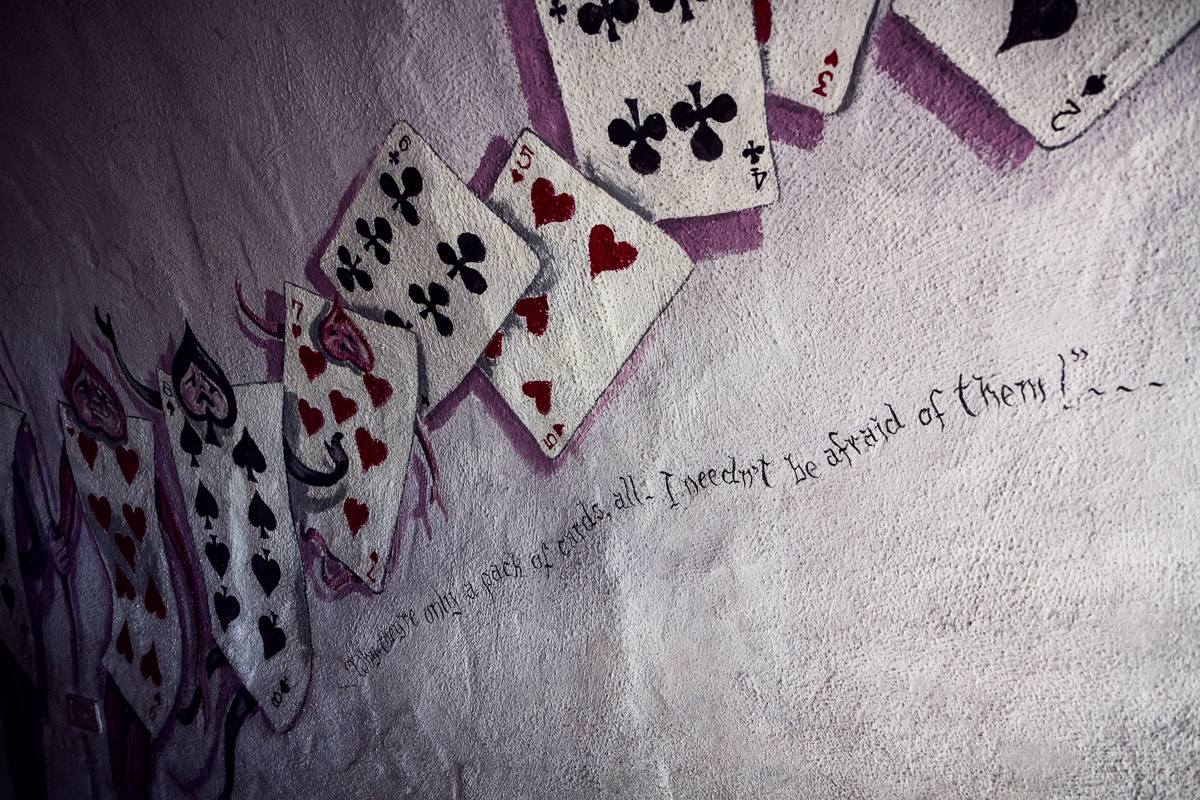
Only A Pack Of Cards – Oakland, CA
Eskimo Kisses
Shining Bright
She Never Believes My Hasty Lies

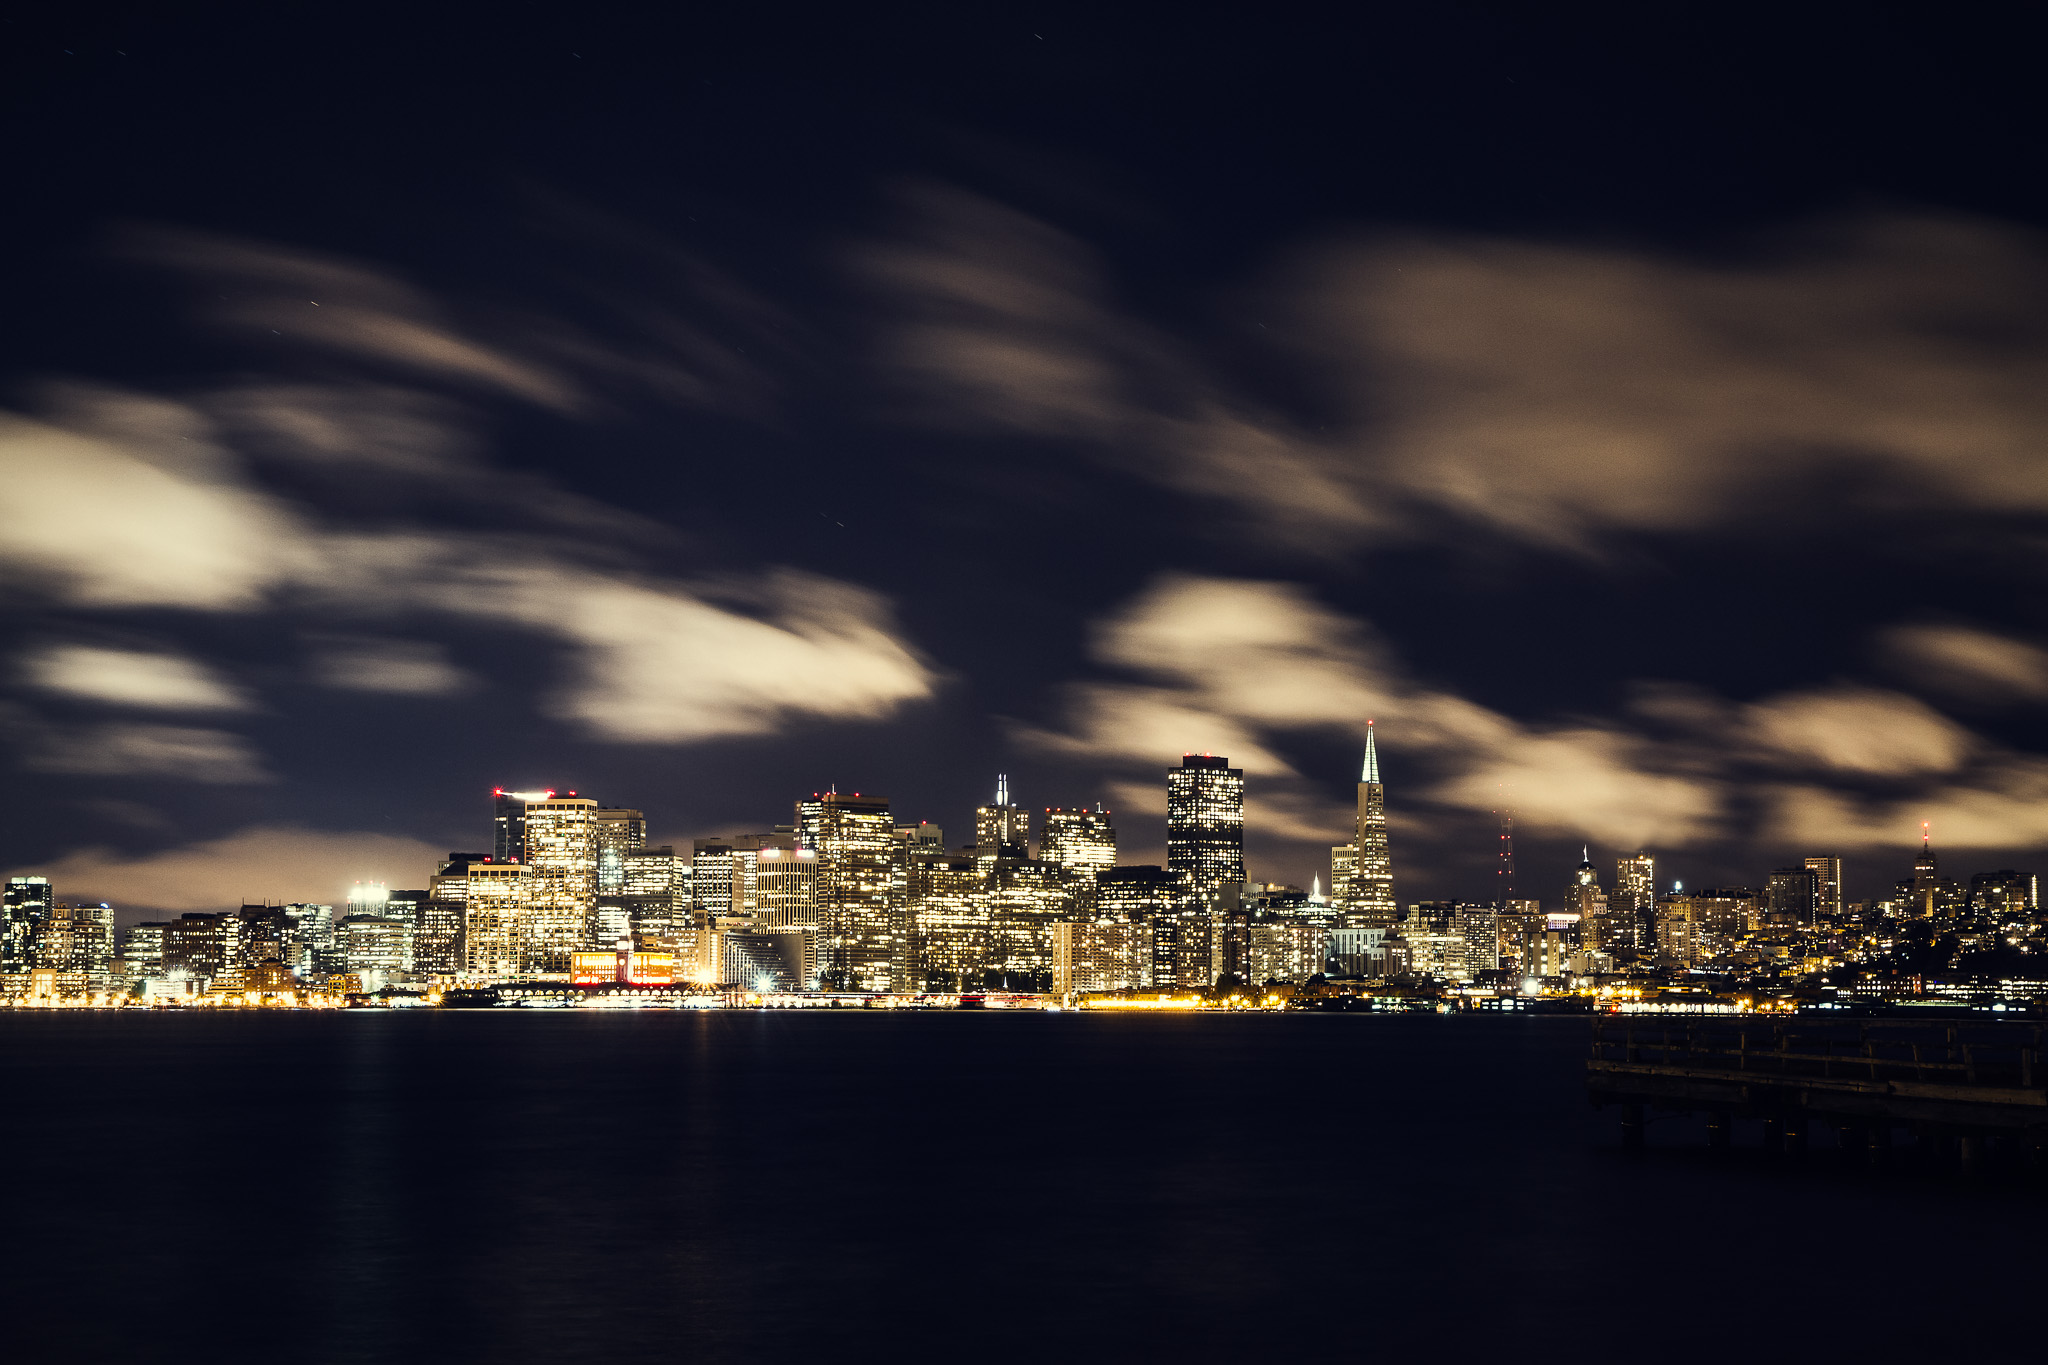
Everything Nice – San Francisco, CA
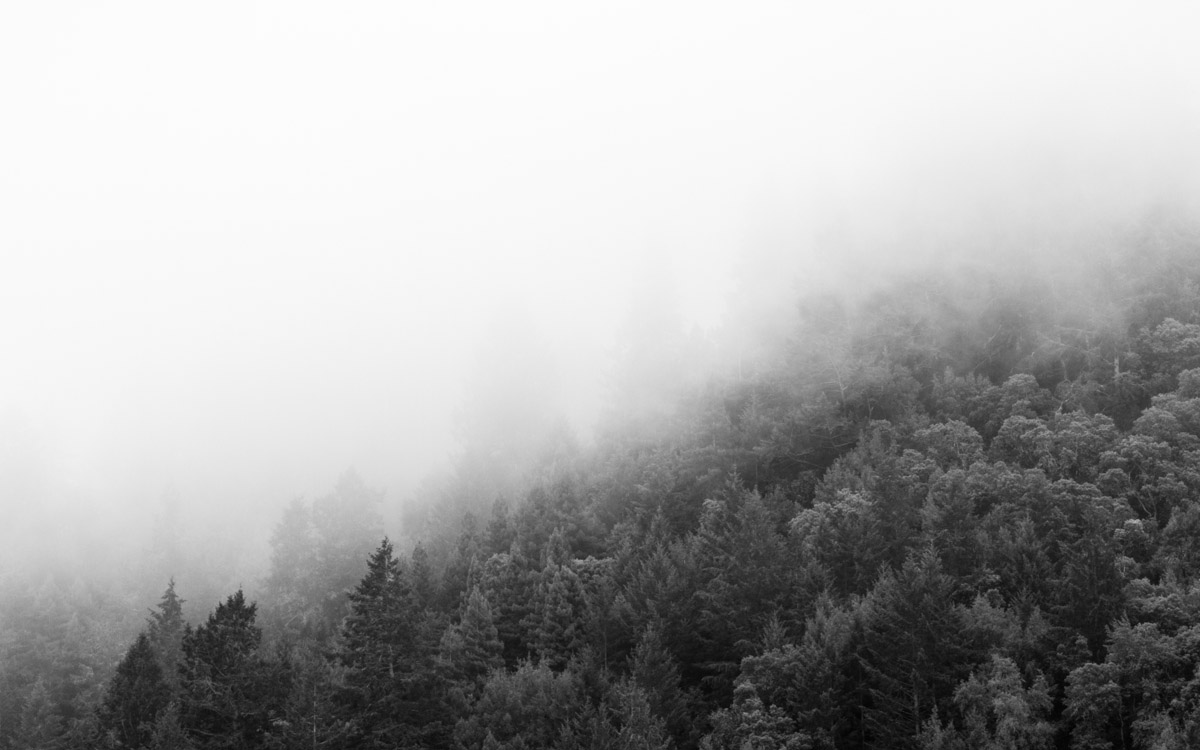
In The Wind – Healdsburg, CA

Yay, Brunch! – San Francisco, CA
Graced With Light – San Francisco, CA
Sep
03
2013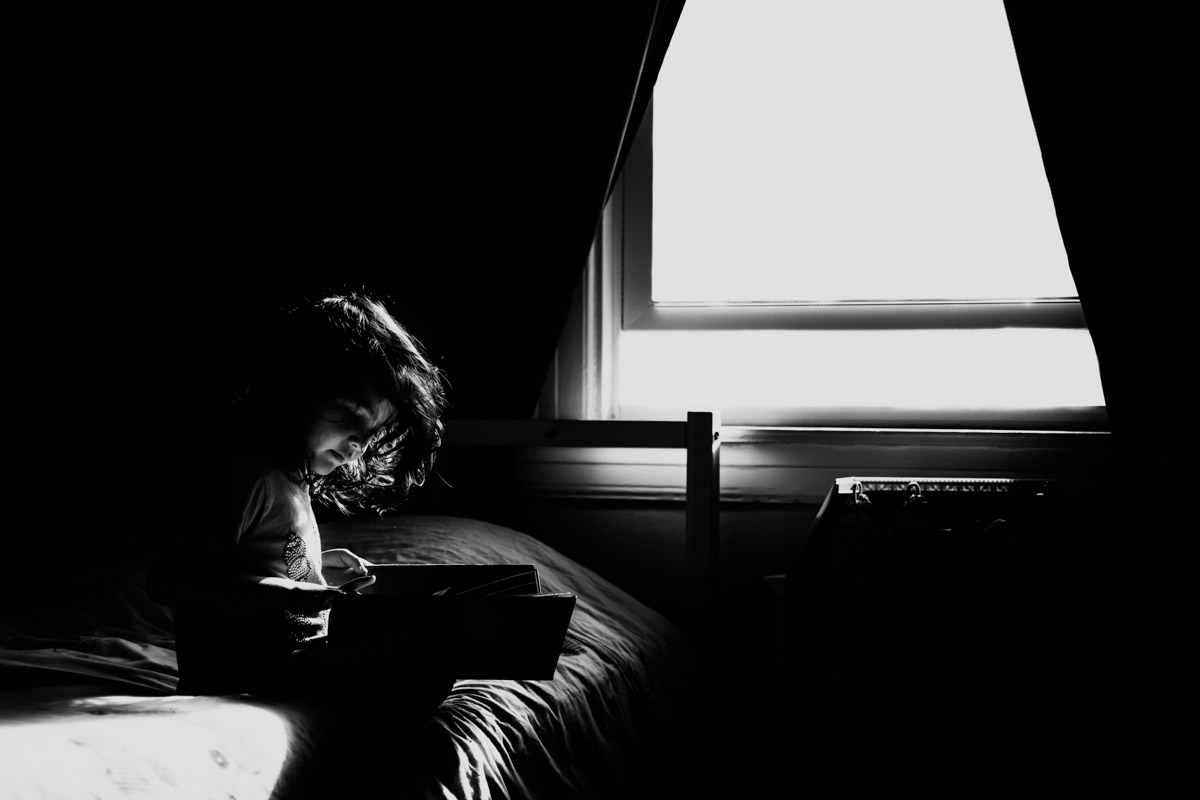
With A Good Book – San Francisco, CA

I’ll Take The Stairs – San Francisco, CA

You’re The One – San Francisco, CA
To The Outside – San Francisco, CA
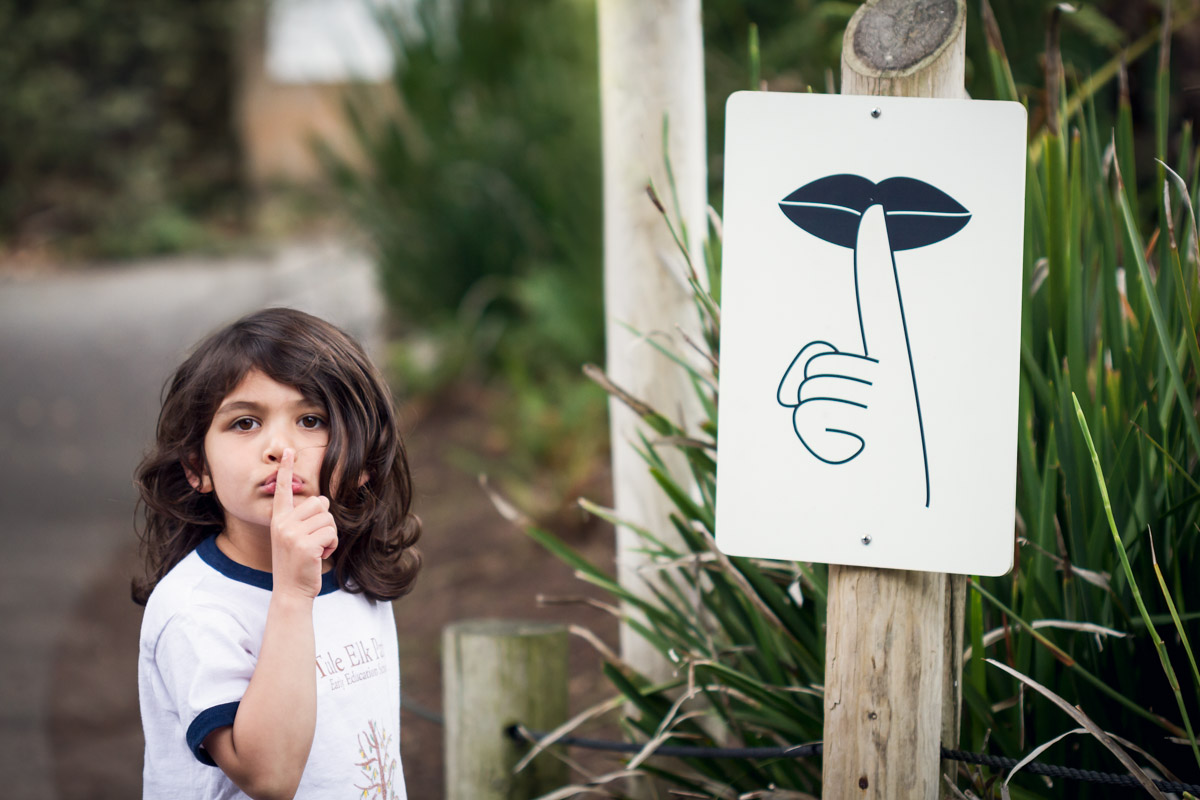
At Least It’s The Right Finger This Time Around – San Francisco,

Tummy Time – San Francisco, CA
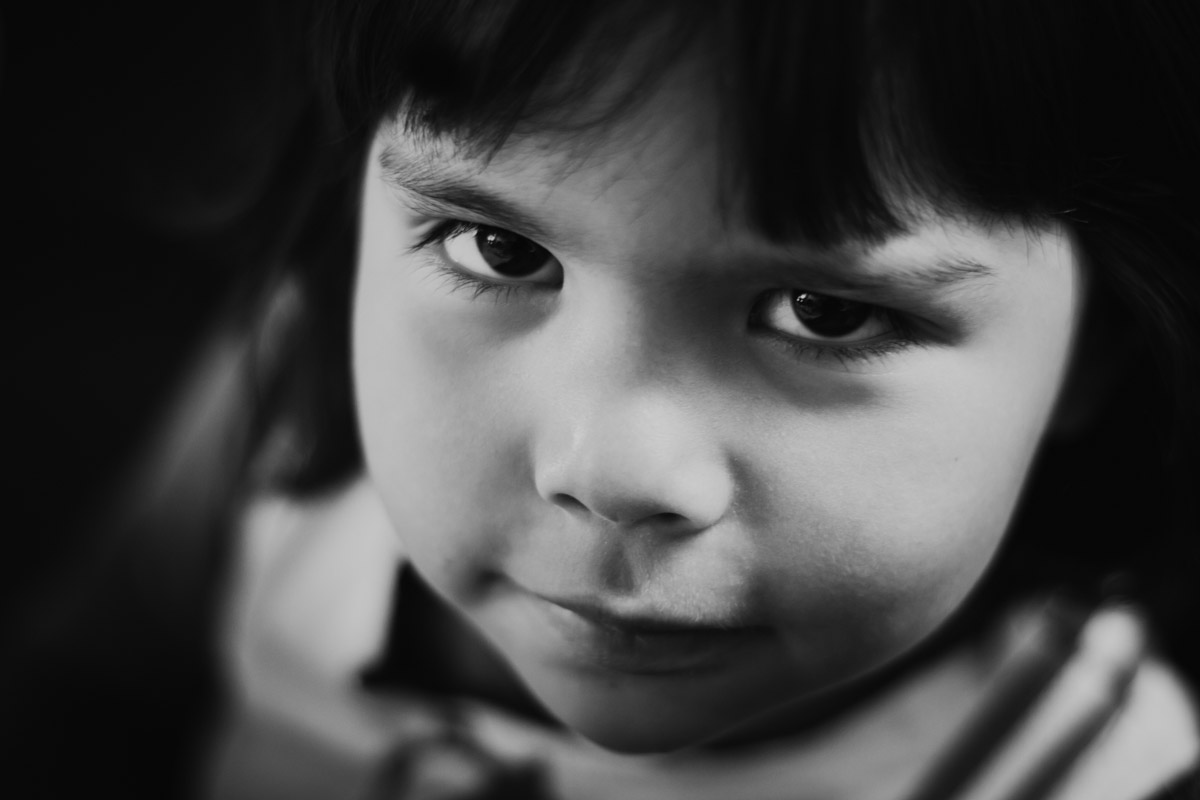
Dubious – San Francisco, CA

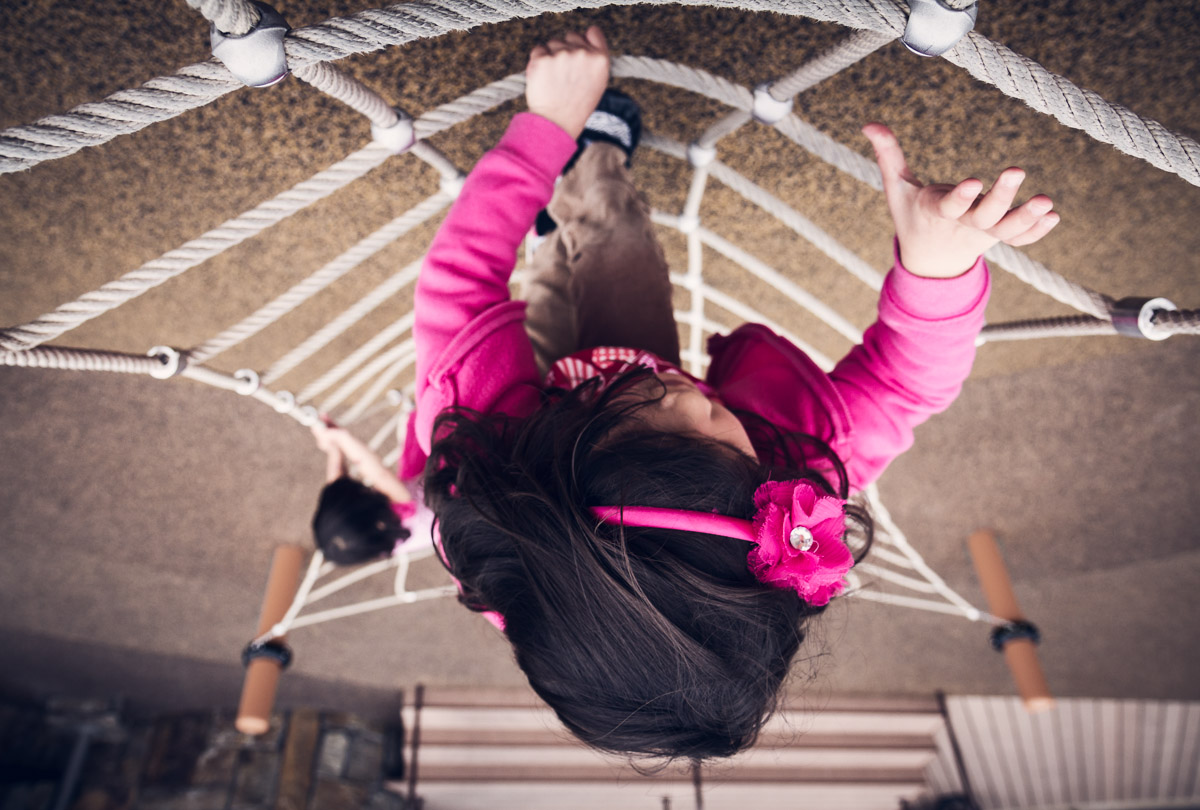
Round And Round – Sonoma, CA

New Beginnings – San Francisco, CA

I Get To Go Back? – San Francisco, CA
Aug
22
2013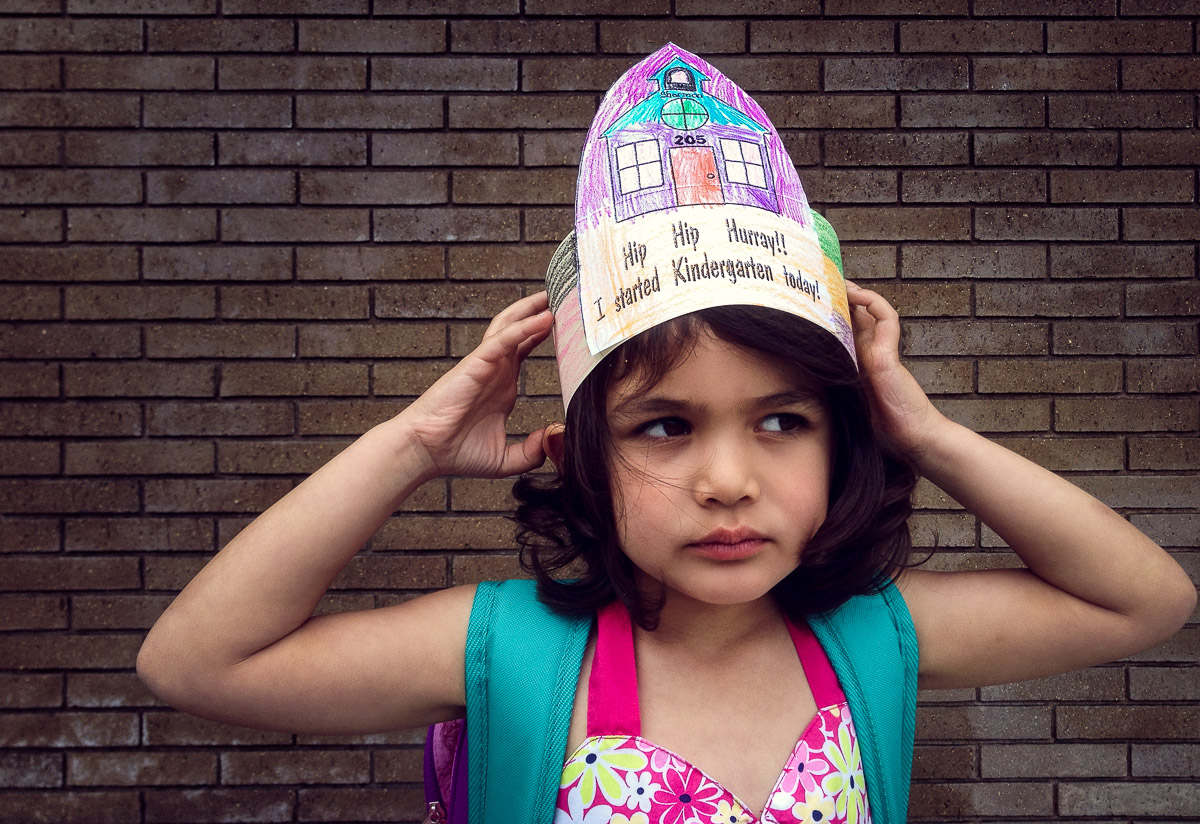
Hip, Hip! – San Francisco, CA
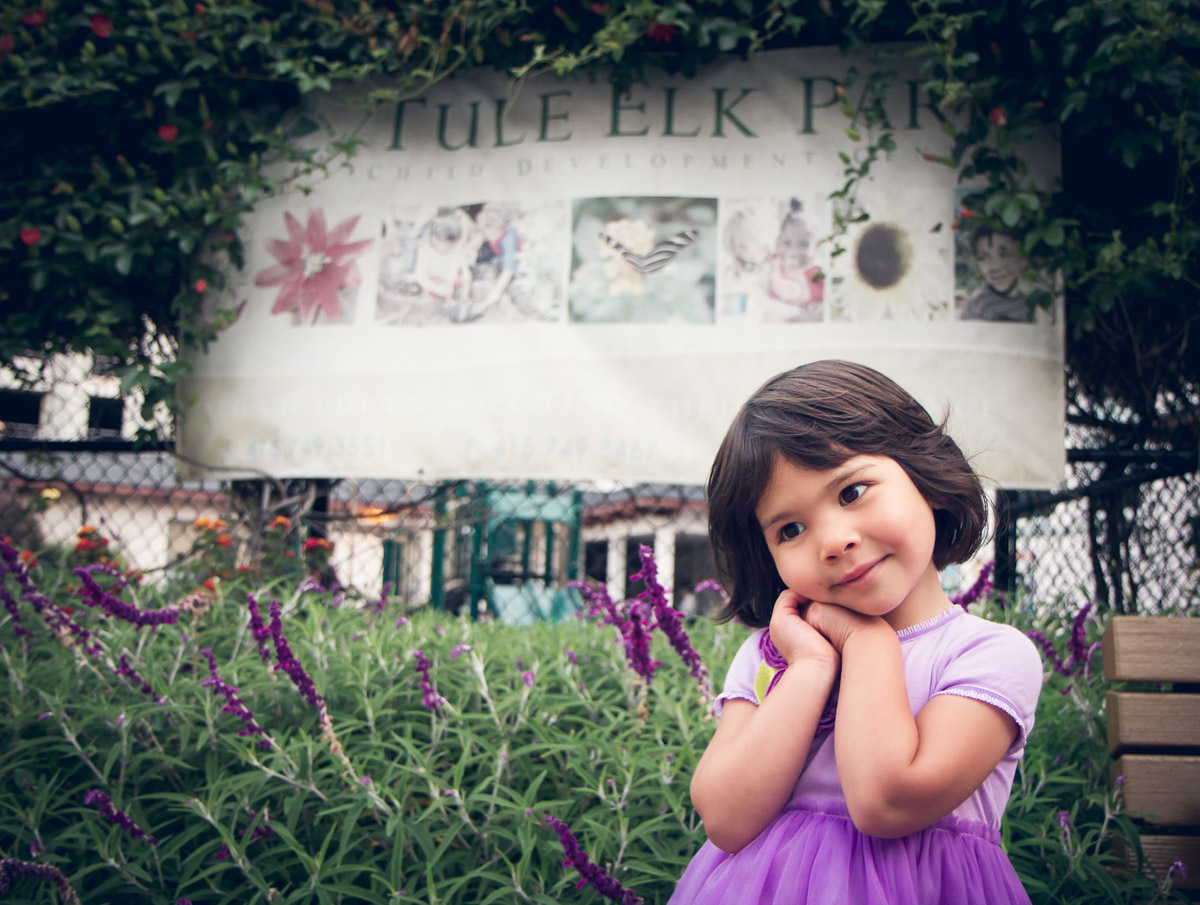
Pre-School – San Francisco, CA
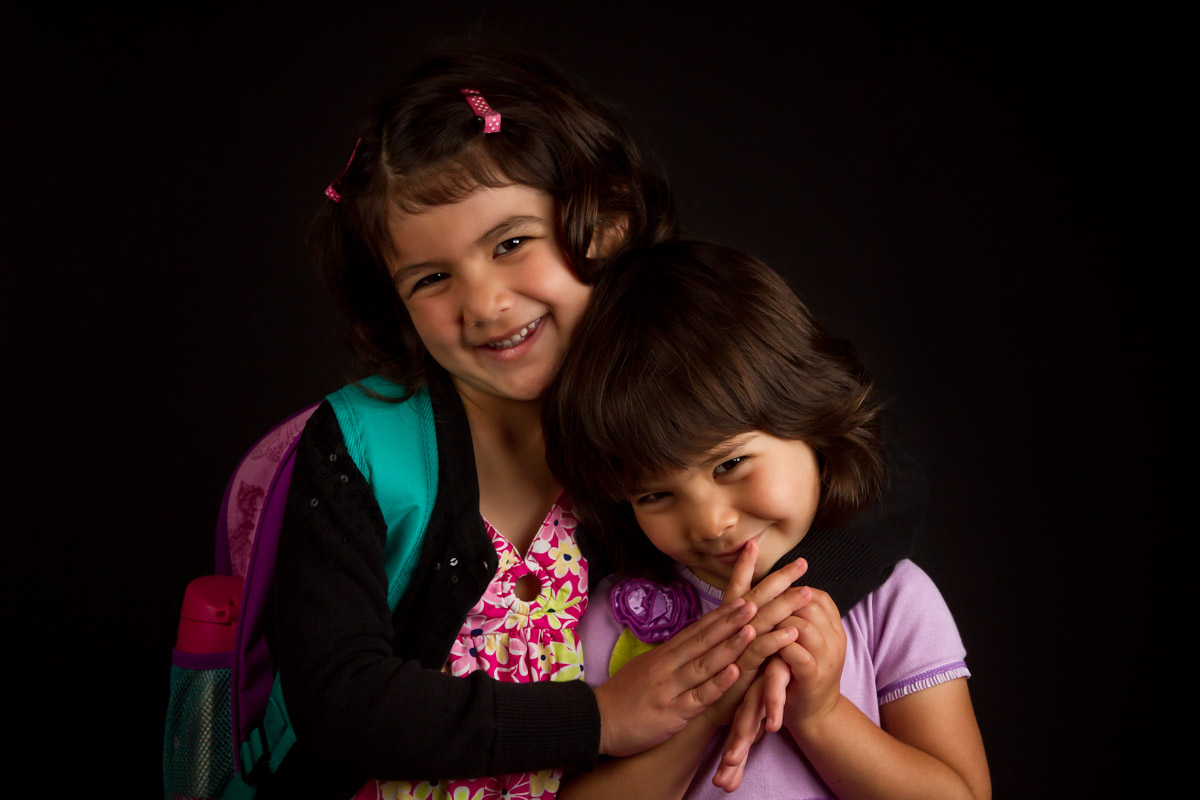
First Day Of School – San Francisco, CA
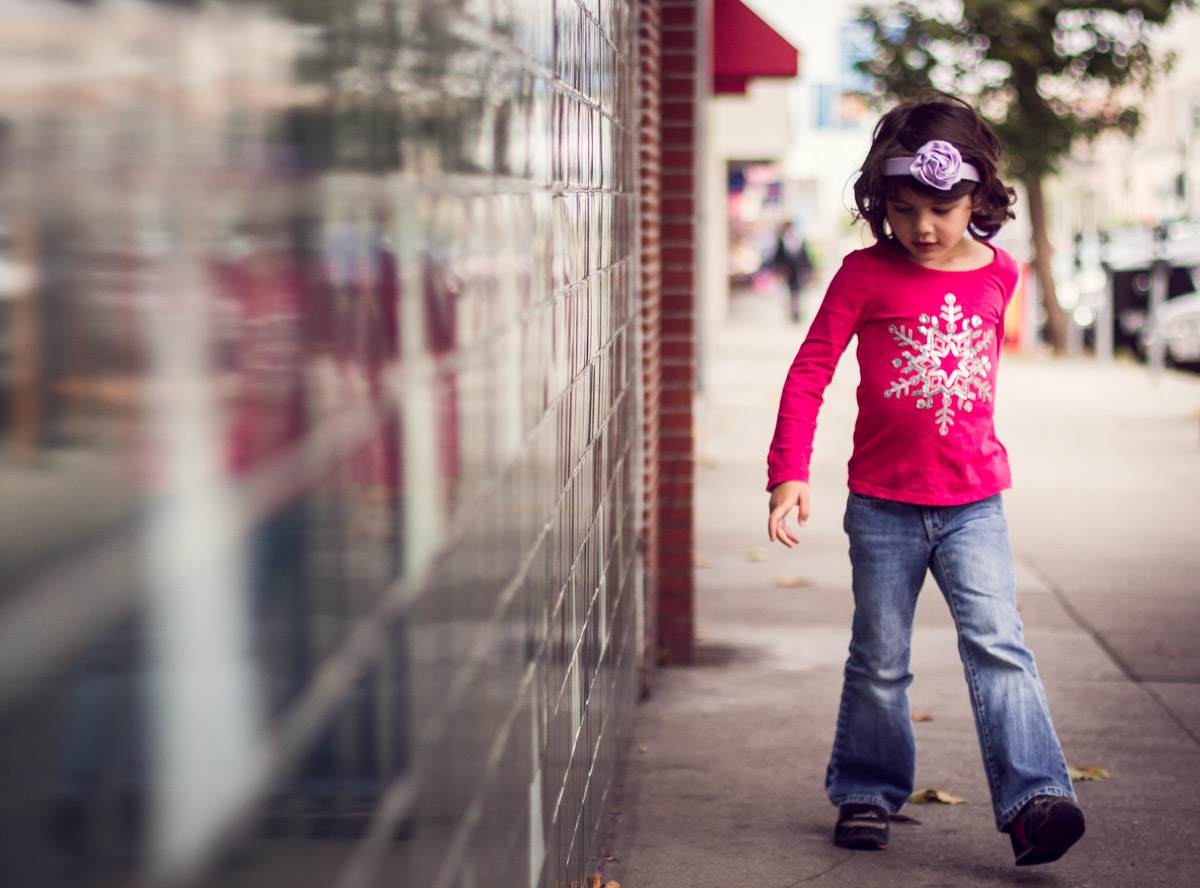
Walkin’ Down The Street – San Francisco, CA
Silently – Healdsburg, CA
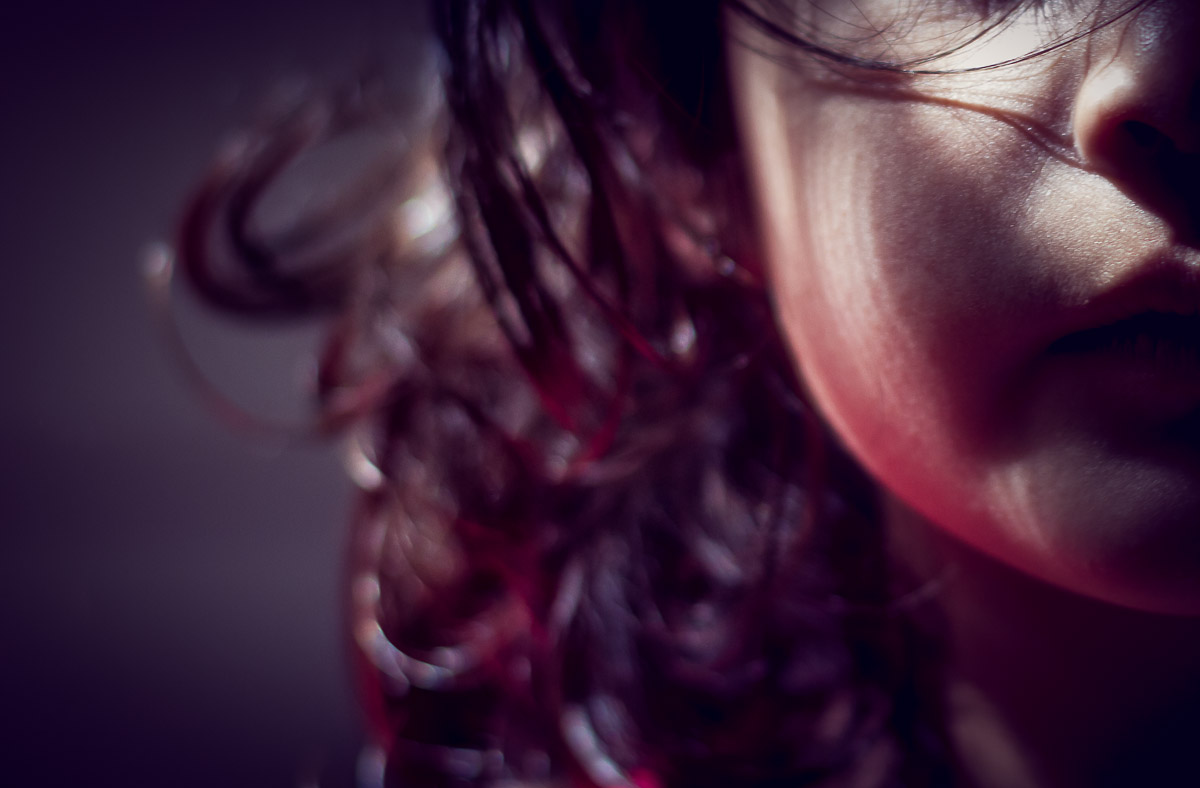
Her Hair, Her Hair

I’ll Go If You Go – San Francisco, CA

What Are Little Boys Made Of?
One Step At A Time – San Francisco, CA
Aug
22
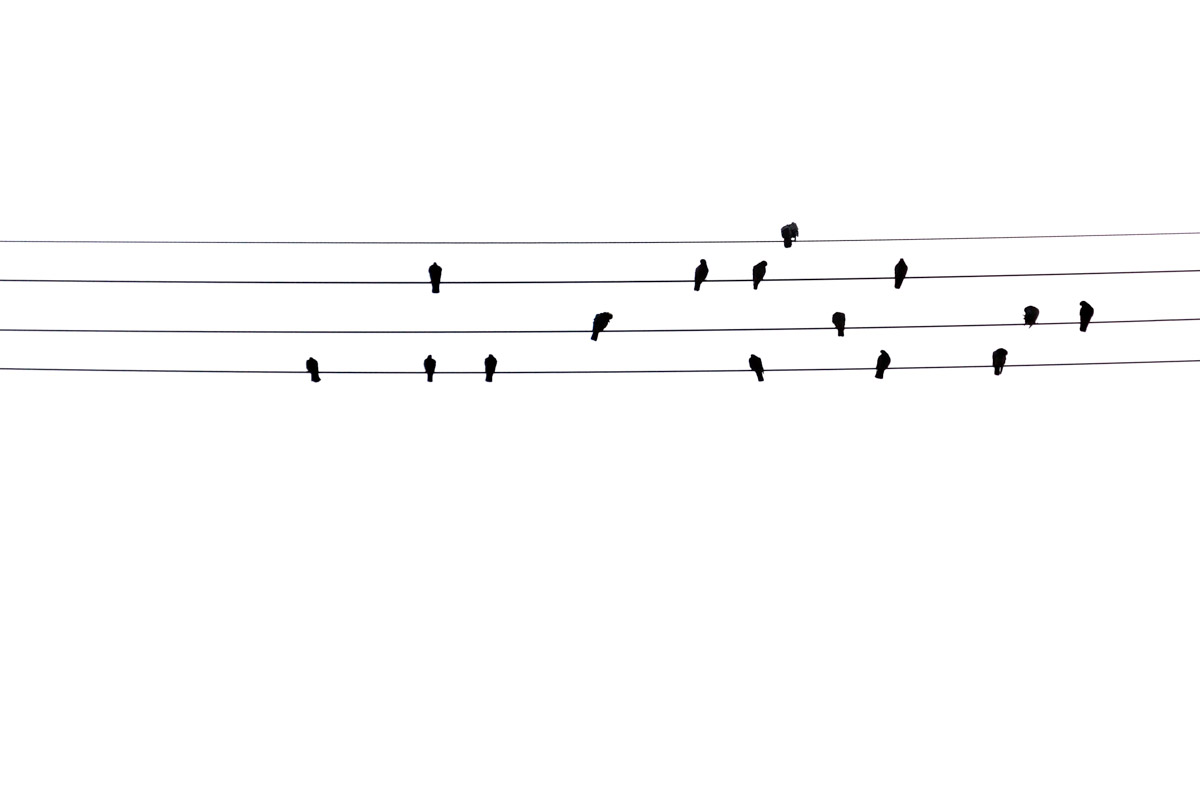
2013I was walking my daughters to school this week. They both started school/pre-school this week and we are trying to get in the habit of walking the 1 mile together. I cherish this time I have with the both of them before I send them off to their day.
I saw these birds sitting on some wires and it reminded me of notes on a staff. Maybe it’s my brain telling me to get back into teaching mode! I took a quick shot before moving along. Here is how it looked straight from the camera.
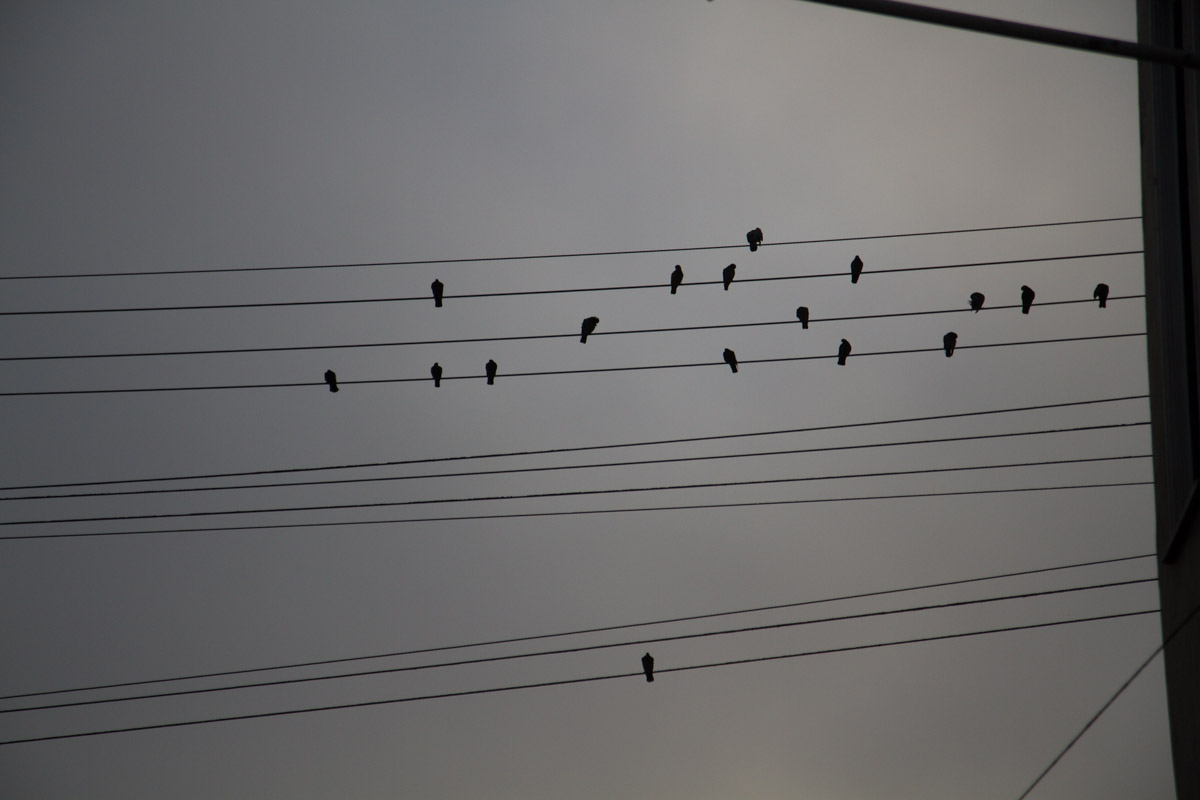
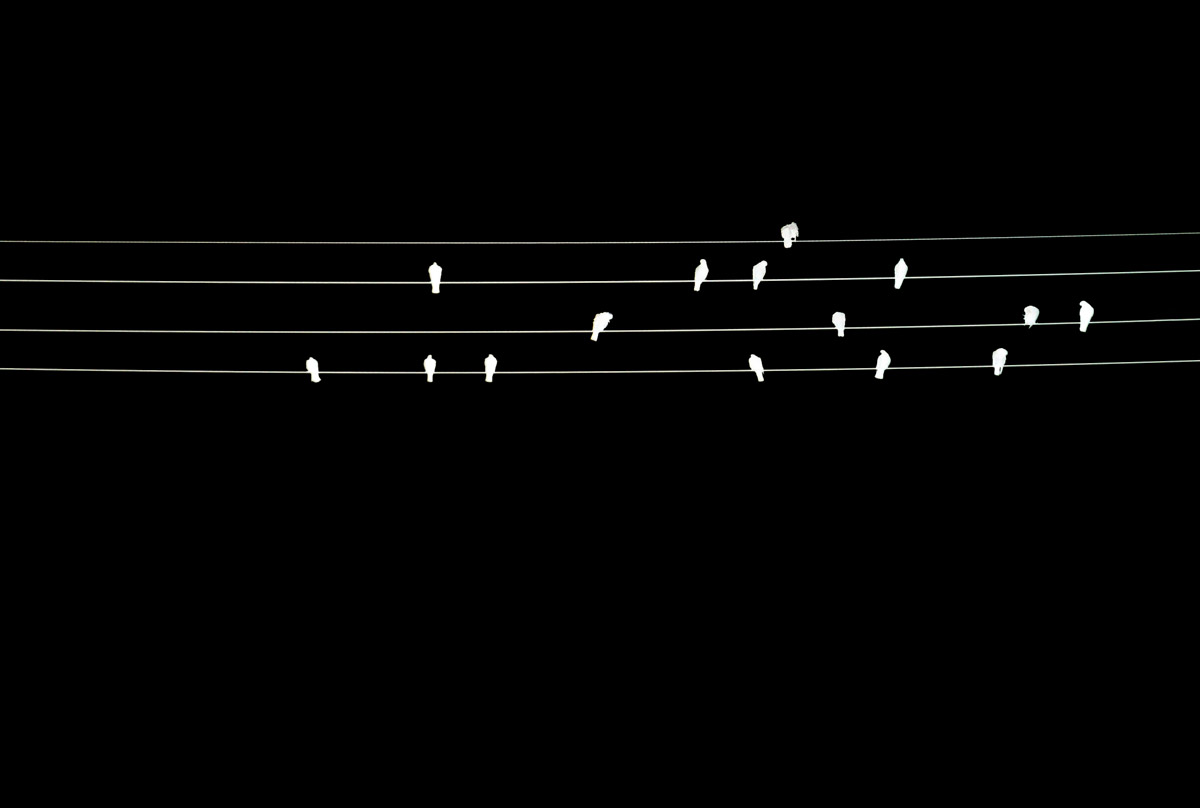
After some adjustments and removal of wires in photoshop, I came up with this image:
I liked how it turned out, but just as an exercise I reversed the colors and I like it even better! Just a fun little example of how I like to work on my photos.
Jul
21
2013Choices
I love processing photos. Lately, I’ve been trying to stretch beyond my comfort zone and work on processing my images in black and white. This image I was working on last night I made both a color and a black and white version.
This was taken on our recent road trip up to Portland. With the girls feeling a little sick we stopped often to give them as many breaks as they needed. Restaurants are some of my favorite places to shoot photos of my kids. The kids are in a safe contained area, are relatively calm because they know that food is coming, and restaurants almost always have great window light. Also, if you have kids that are runners, you can block them into a corner or stick them in a booth.
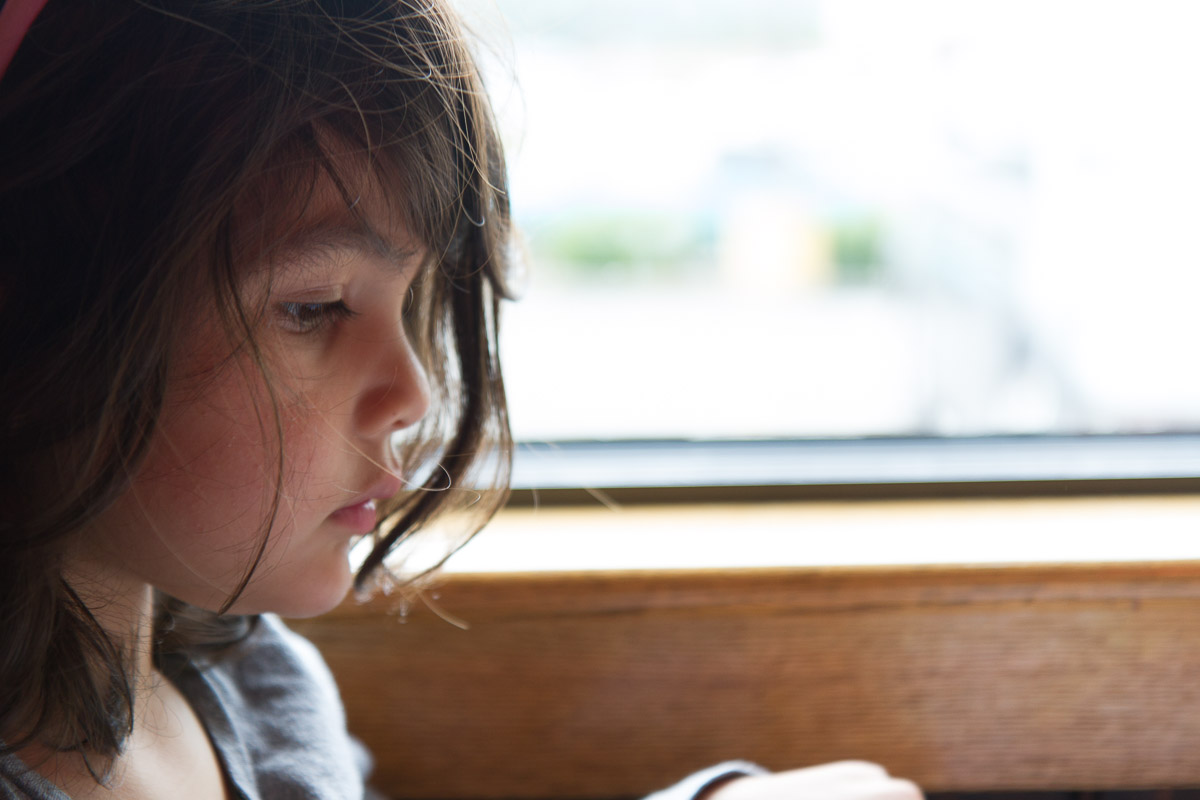
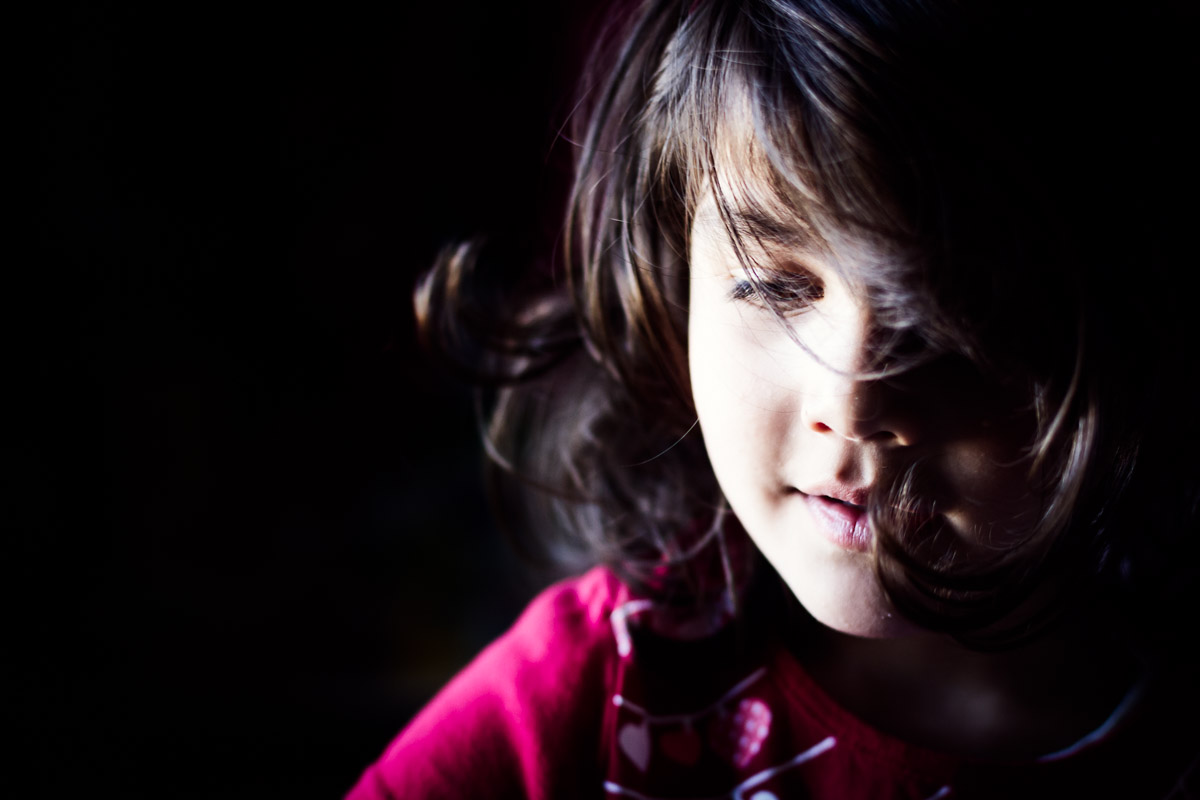
Here is a shot straight from the camera. I shot this backlit with the intention of having the window completely blown out and white. I wanted a lot of negative space and so I composed the shot with my daughter very close to the left side of the frame with her gaze looking through the shot.

I made some minor adjustments in Lightroom before bringing the image over to Photoshop. I removed some of the distracting color blotches from the window and cleaned up some of the more distracting stray hair on her face. I like the look of color toning in images so I added some blues and reds to the shadows and some yellow to the highlights.
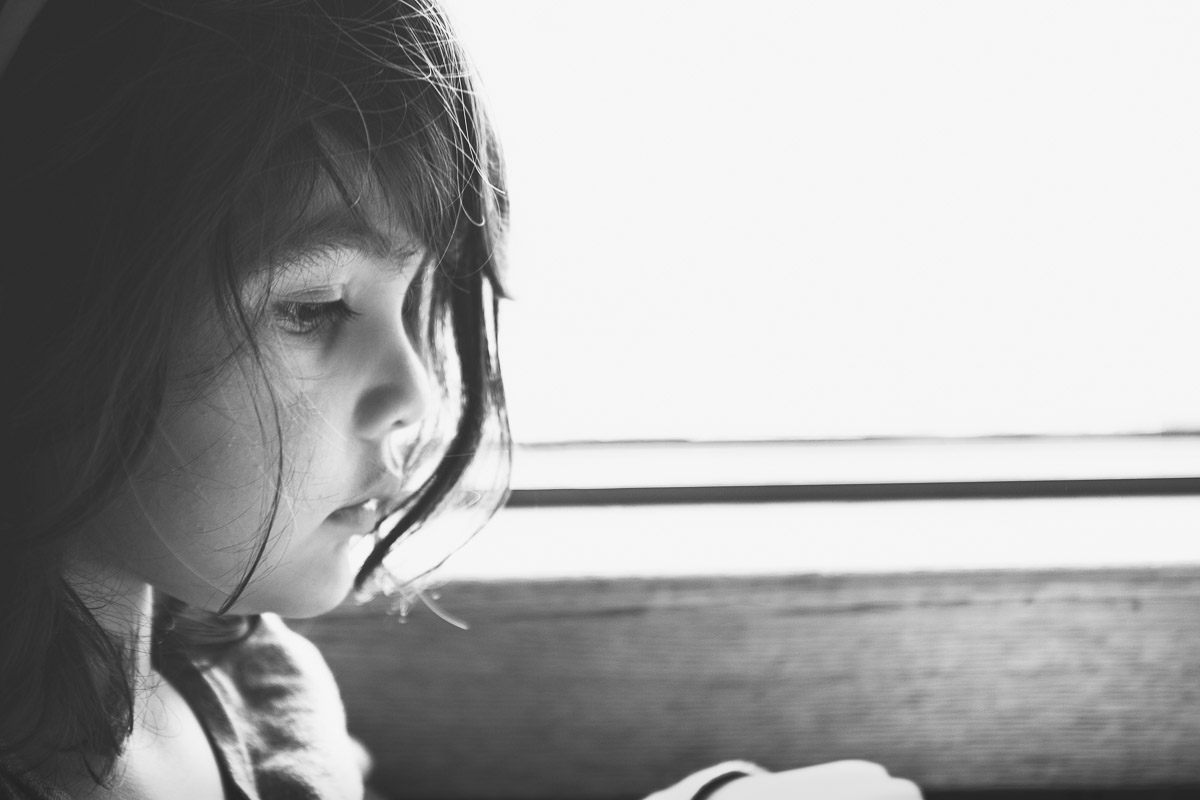 While I was pretty happy with the image I also wanted to see how it would look in black and white. Taking the image through Silver Efex Pro 2 I worked and tweaked the image to take the whites and blacks in the image where I thought they looked the best.
I think both versions work but give a completely different look and feel in each one. What do you think?
May
20
2013
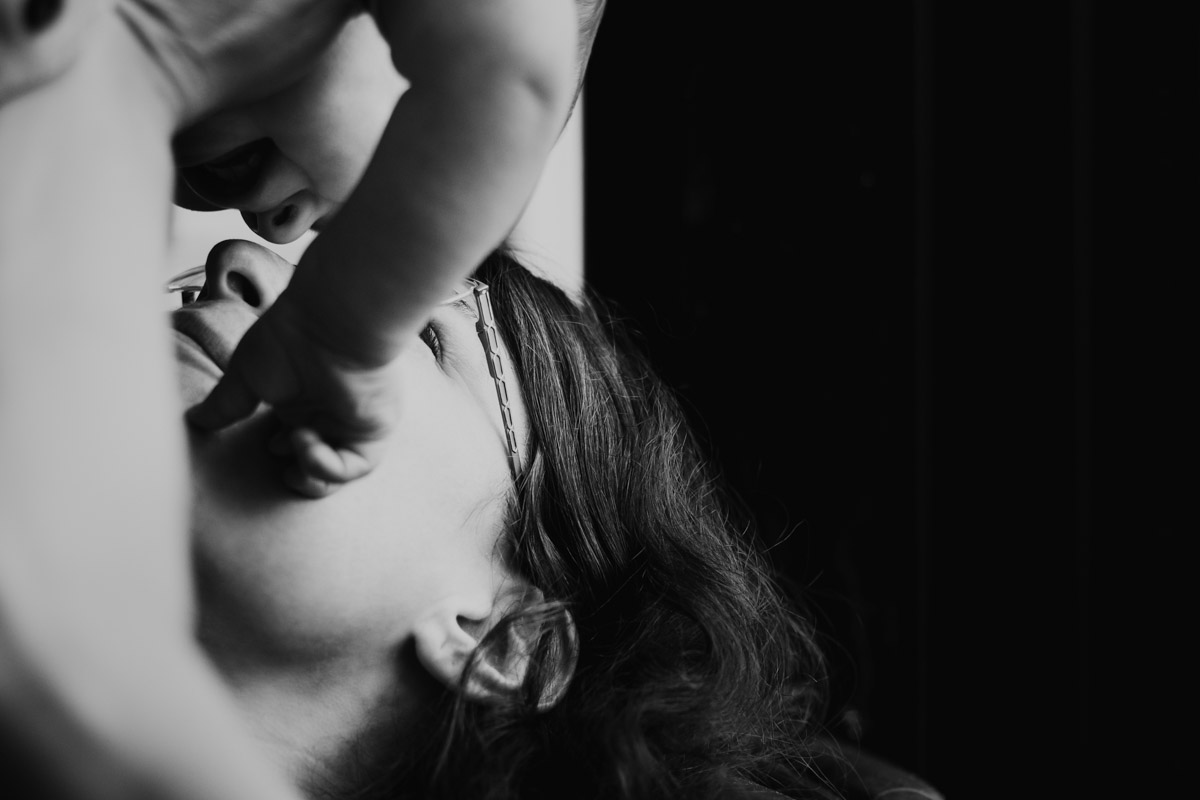
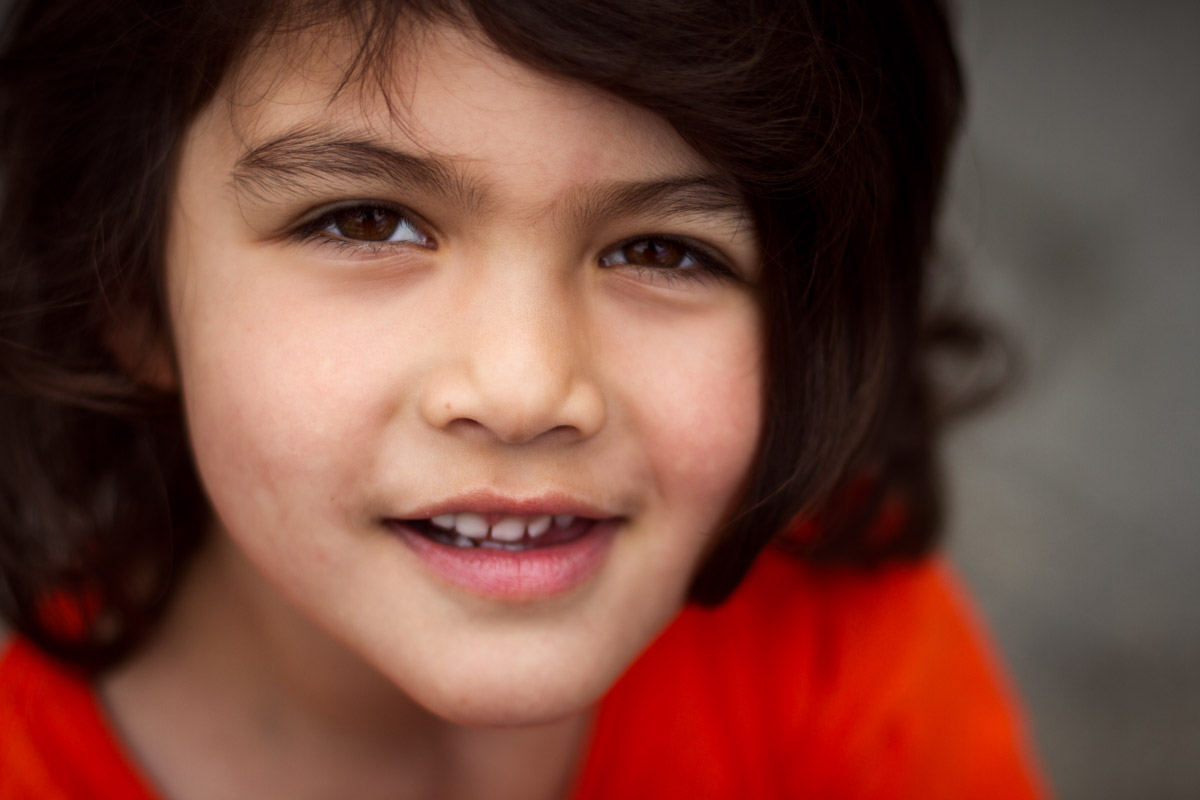
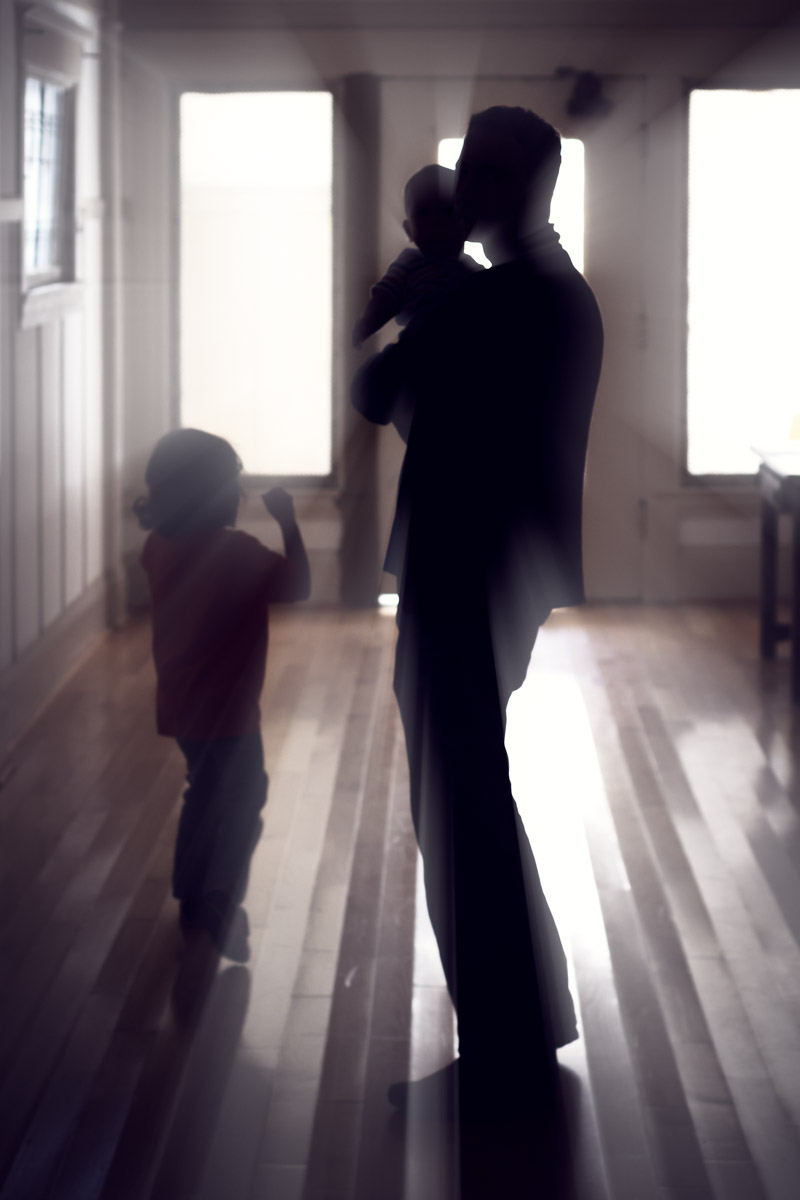
Whenever I book a new family portrait session and we are shooting at or near their home, I make it a point to try to meet with the family in their home beforehand. I don’t even bring my camera. It’s a time for me to get to know the family members and see how they relate to each other. In that way I can get a sense of what kind of shots they might be up for. I am also scoping out their house for potential shots. One of the first things I look for is what kind of natural light enters their house. I look for the placement of windows and think about ways I can use them.
Window light is so great for portraits. Windows have beautiful, diffuse, soft, directional light. From there we can play with exposure and composition to take all sorts of interesting photos.
Here’s a little tip to take great pictures of your kids. Find a window, preferably without direct sun. (You can close the drapes or even tape up a bed sheet if the sun is directly streaming in) Have your kids look out the window. Sometimes I tell them I saw a bird, or a plane, or if they are up to being silly, tell them you saw something outrageous, like a magic carpet or flying car or anything else. From there I start parallel to the wall and shoot their profile remembering to keep camera focus on their eyes. You can get some nice expressions from this first view. Hopefully, if you can keep them engaged, they’ll look directly at you and you can get shots like this one, with nice window light coming in directly from the side. If you keep at it long enough you can also get a nice range of emotions, from silly, to contemplative, and sometimes even bored. Don’t be afraid to change up your camera angle too. Shoot from behind to get a nice silhouette or from above to get a unique perspective.
Happy shooting!
May
13
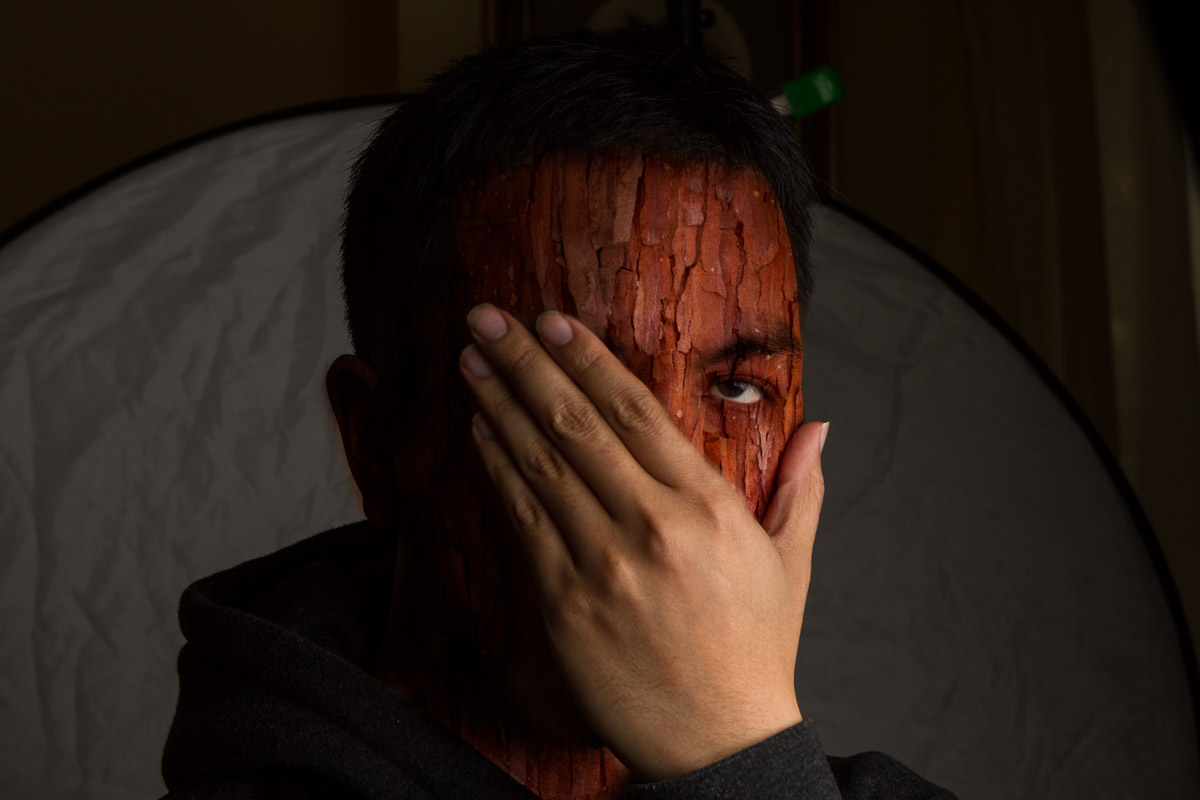
2013How Much Wood?
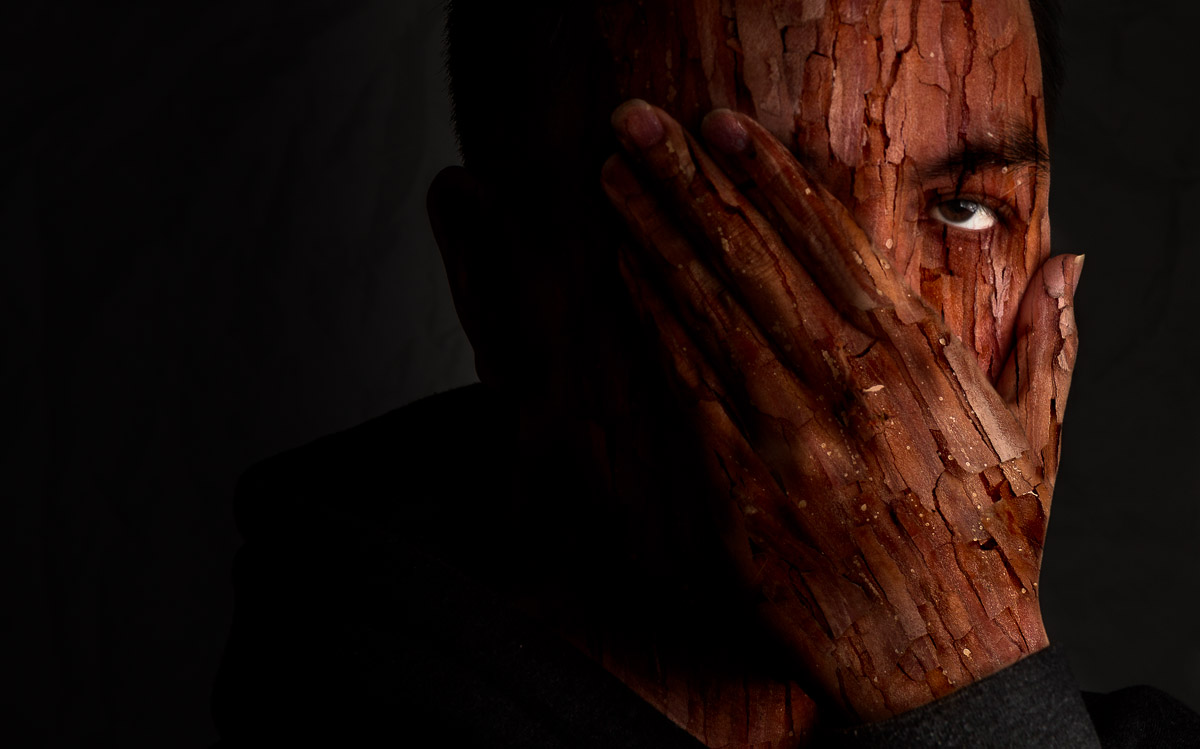
This image was taken for a scavenger hunt held over on Google+. Every couple months a list of 10 words are released and over 500 people sign up to create images based on these words. I’ve been participating for a while now and usually do pretty well with the results. This time, however, I didn’t get a chance to do any. Oh, I had plans for all 10 and sketched them out but just ran out of time. So with 1 hour to spare before the deadline, I decided to just throw something together and get 1 submission in. I decided to take the clue “texture” and make a quick self-portrait.
I didn’t have time to set up my usual backdrop and quickly just clamped a reflector onto a lightstand. I took out a speedlight, stuck it in a softbox, put my camera on timer on a tripod and took 4 or 5 shots. I chose this particular shot because I thought the hand covering the face added some drama and interest.
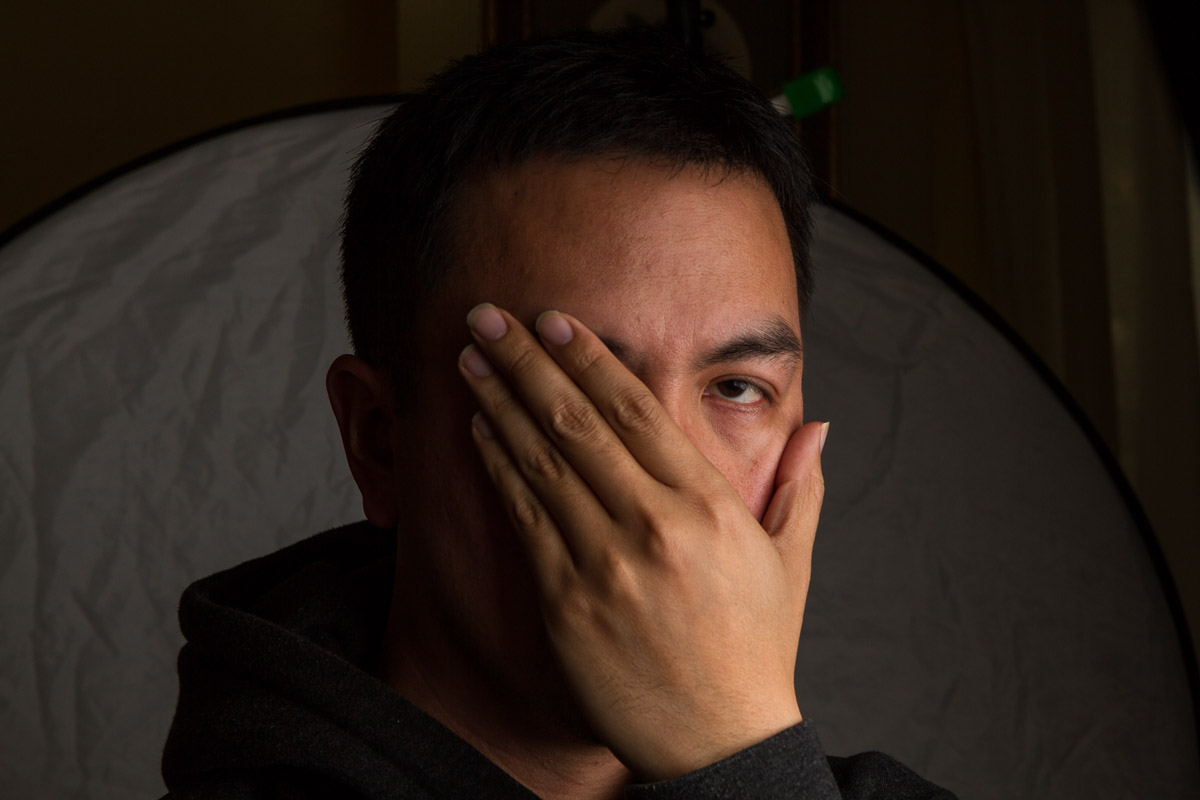
After some minor adjustments in Lightroom, I brought the photo over to Photoshop and added a second layer of this tree trunk photo. I changed the blend mode of the tree layer to multiply to have it interact with the original layer.
I didn’t have time to set up my usual backdrop and quickly just clamped a reflector onto a lightstand. I took out a speedlight, stuck it in a softbox, put my camera on timer on a tripod and took 4 or 5 shots. I chose this particular shot because I thought the hand covering the face added some drama and interest.
After some minor adjustments in Lightroom, I brought the photo over to Photoshop and added a second layer of this tree trunk photo. I changed the blend mode of the tree layer to multiply to have it interact with the original layer.
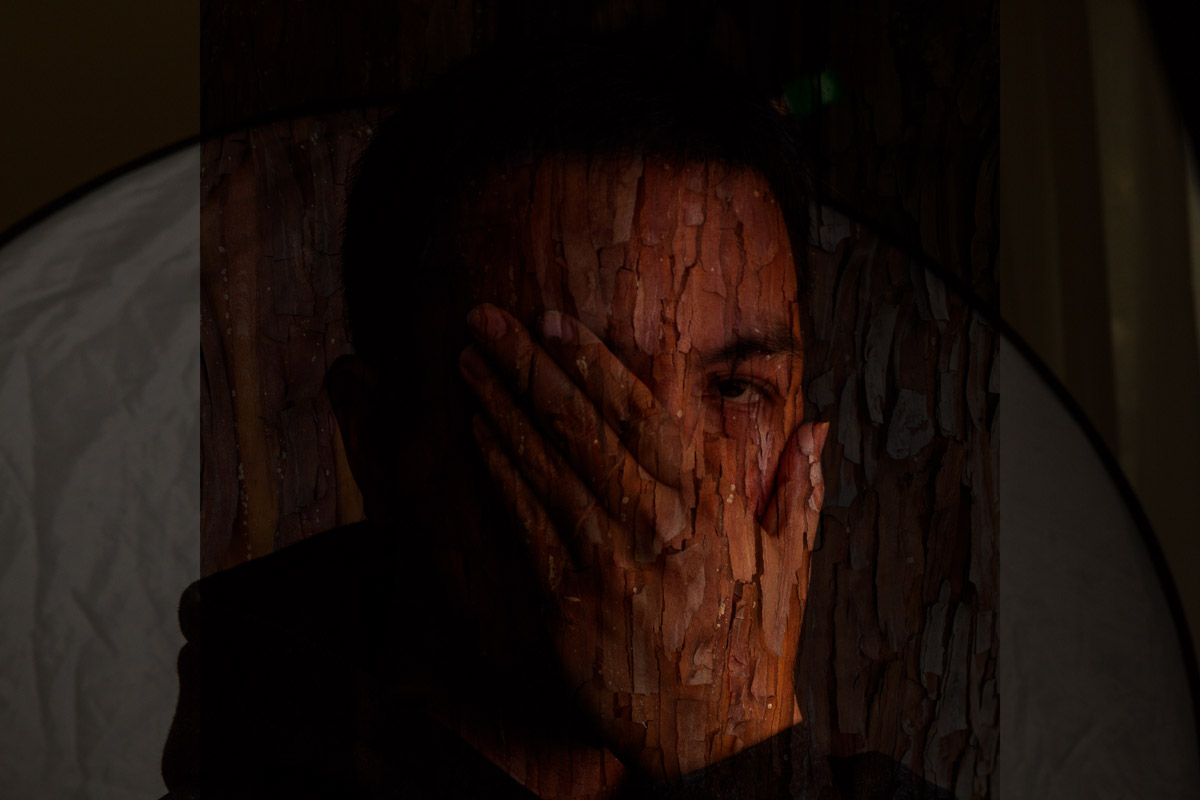
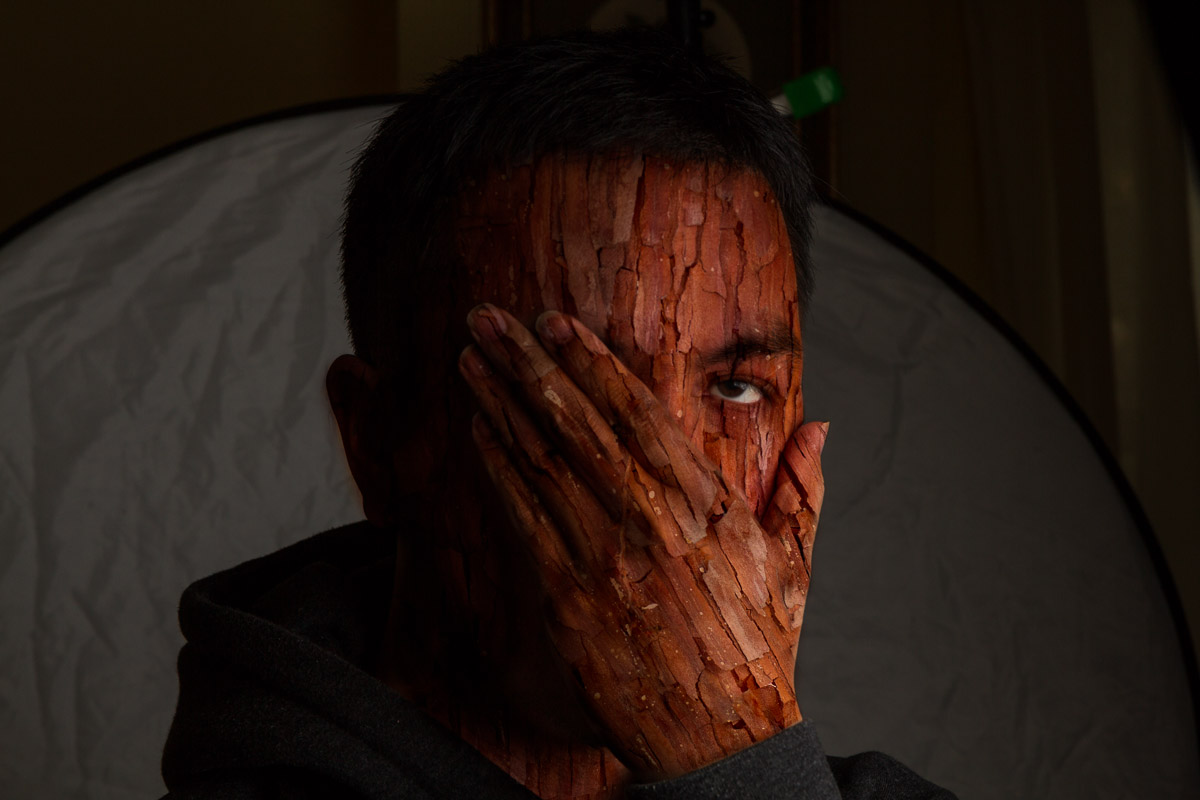
Using a layer mask, I masked out parts of the tree that I didn’t need and added a levels adjustment to brighten up the texture and add some contrast as well.
On a duplicate of the tree layer, I masked in the hand and used the transform tool to change the direction of the grain to match my hand. After getting the pieces in place, I used the displace filter from a displacement map to make the texture fit the contours of my portrait.
After some final tweaks and a crop in Lightroom, you get the final image you see here. I think it’s a fun image and it was well-received as I got an honorable mention and a couple second place votes! Drop me a line if you have any questions. I’m still learning and practicing but am more than happy to share what I know.
May
09
2013Taken backstage at the Union Square Fire Dancing Expo in April. To learn more about this series go to http://josephfanvu.com/unlit
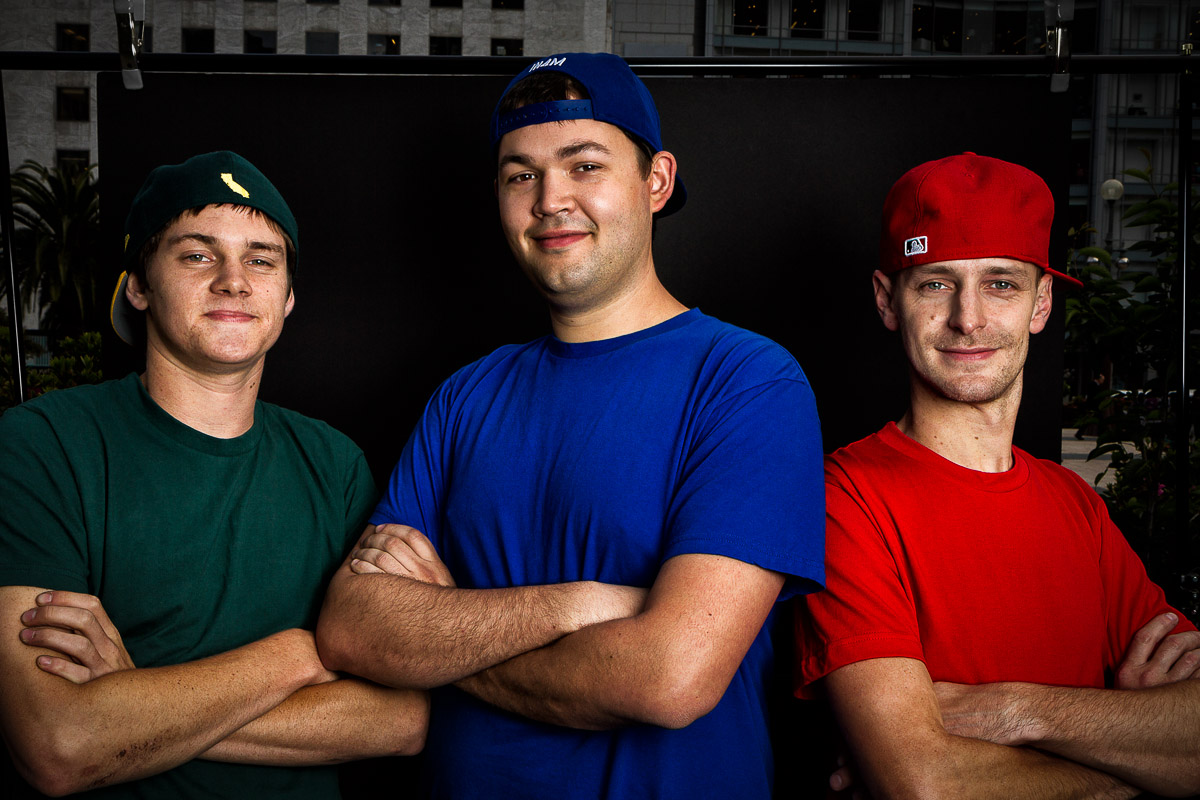 Why was this group shot more difficult to make than individual portraits?
First the technical: I was shooting a single speedlight in a medium softbox with a black foamcore background. With a single person you can stick that softbox right next to their face off to one side and you have this gorgeous directional light with nice beautiful falloff into the shadows. From there you can work with the pose and tweak the light to get the portrait that works for that person. I brought just one light because I’m still learning about off camera flash and really want to explore the possibilities of using just one light. With two or more people, things start to get more complicated. If your one light is off to one side, the light will hit a group of people unevenly. The person closer to the light will be more lit than the person farther away. There are multiple solutions to this of course. If you move the light farther away, the people become more evenly lit but the light becomes harder. If you swing that light closer to in front of them, the people become more evenly lit but you lose your directional light and the shot looks flatter. You can also have the person who is farther away take just a step closer toward the camera to try to even out the distance. I chose a combination of these three things.
Another thing I’m working on is posing people together. Trying to convey a relationship between two people when you only have a a couple seconds after you’ve met them to make an image is difficult! Stick a family in front of me and I’m good to go. If it’s a family session, I can use the relationship of the parents together and with their kids to try to make beautiful images that convey a sense of who they are and how they belong to each other. In a situation like these backstage portraits, I just had a couple of seconds to gauge their relationship to each other and work their pose from there. With more experience, I’m hoping to get better and faster at this.
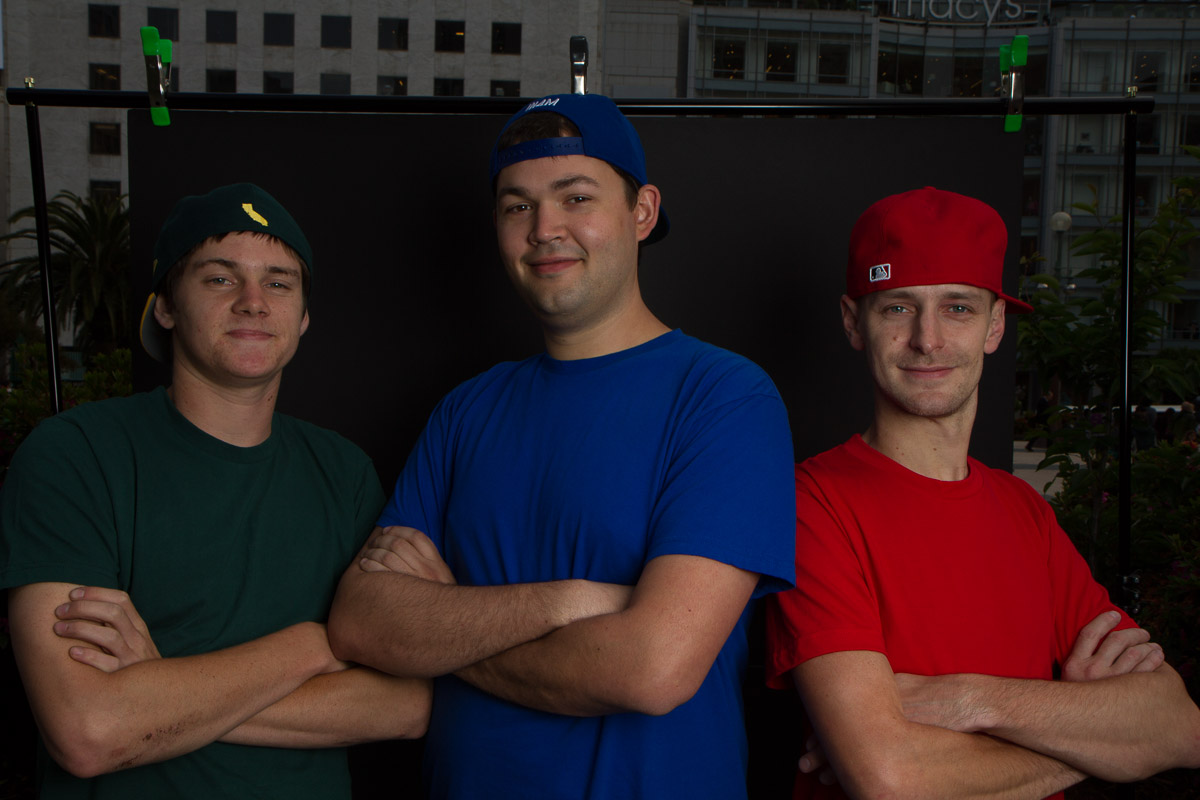
In the before photo below, you can see examples of what I’m talking about. These guys were really tall and didn’t fit inside the backdrop. Nothing I could do there as I was backed up as far as I could. Although I guess I could have moved them away from the backdrop completely. My flash power was set too low so that is why it is a bit dim. (whoops) The light didn’t quite reach to the left and so I had to adjust in post. When they first stood in front of the camera they stood in a straight line. To give them some interest and a more dynamic feel I had them vary the angle of their bodies. Looking back at this photo I wish I had them change up their hand and arm positions as well so they weren’t all the same.
I had a fantastic time shooting these performers! With this experience under my belt, I have lots of ideas for the next time I get an opportunity. I have a lot to learn but I am getting better quickly! I look forward to trying out these ideas soon!


